
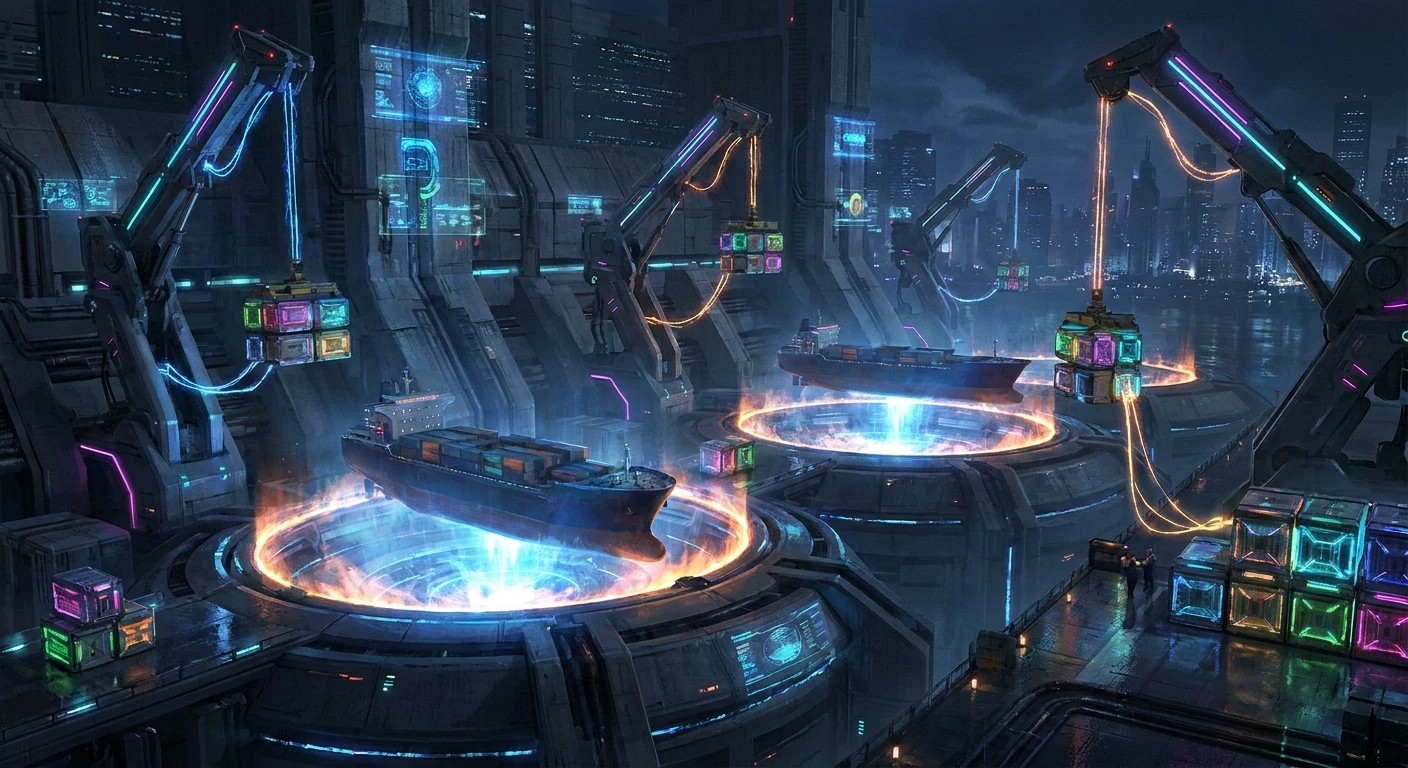
Securing Your Field Depot Spaceport
Locking down the field depot spaceport is exactly what separates the casual players from the hardened veterans in this current meta. I still vividly remember sitting in a dimly lit gaming lounge in central Kyiv, the low hum of backup generators masking the quiet intensity in the room. My squad had been grinding the new seasonal expansion for twelve hours straight. We were holding a makeshift barricade, desperately trying to call in our extraction ship, when a rival clan ambushed our logistics hub. We got absolutely wiped. That devastating loss forced me to rethink my entire approach to base control. You simply cannot ignore the raw tactical advantage that comes from controlling the primary orbital launch facility.
When you control the main transport hubs, you control the flow of the entire map. The overarching mechanics dictate that whoever holds the high ground on the landing pads dictates the resource economy for everyone else on the server. Every single drop pod, every supply crate, and every automated defense turret relies on the power grid linked to this specific zone. If you are tired of getting flanked by aggressive rushers or constantly running out of high-tier ammunition just when the extraction timer hits zero, you need a fundamental shift in your gameplay strategy. It requires tight communication, precise timing, and an absolute refusal to back down when the pressure spikes.
Read also: Mastering Arc Surveyors for Stealth Recon; Find the Treasure Under the Stronghold.
The Core Mechanics of Sector Control
Understanding the inner workings of the supply network is mandatory for long-term survival. The value proposition here is simple: you invest time securing the perimeter, and the game rewards you with an unbreakable defensive stronghold. For instance, when you successfully link a secondary power node to the main hangar, your automated sentry guns gain a fire rate buff. If you manage to capture the central comms tower, your entire team gets passive radar pings of incoming hostile squads.
To genuinely dominate the sector, you need to follow a strict progression checklist. Winging it is a guaranteed way to lose your high-tier gear.
- First, you must establish a secure perimeter by placing proximity mines at the three main access ramps leading up from the lower transit tunnels.
- Second, dedicate your fastest mobility player to slice the main terminal, ensuring your team has administrative control over the hangar blast doors.
- Third, funnel all gathered titanium scraps directly into the primary shield generator to prevent orbital strike damage.
Let’s look at the actual cost-to-benefit ratio of upgrading your internal modules once you have initial control over the facility.
| Module Name | Upgrade Cost | Tactical Benefit |
|---|---|---|
| Refinery Node | 400 Credits | 20% faster fuel extraction |
| Shield Generator | 800 Credits | Stops all incoming orbital bombardments |
| Cargo Link | 600 Credits | Enables passive resource generation |
Players who ignore these upgrades inevitably find themselves outgunned in the late game. The credit investment seems steep early on, but the compound interest you gain from passive fuel generation easily pays for itself by the time the final circle collapses. You have to treat your base like an evolving organism that constantly needs to be fed resources to protect you.
The Origins of Orbital Logistics
When the base game first launched, the logistics system was practically nonexistent. Players would just sprint across barren maps, shooting anything that moved and looting arbitrary supply crates dropped at random intervals. There was no real strategy tied to the environment, and the maps felt hollow. The developers noticed that player retention was dropping rapidly because matches felt completely disconnected from any meaningful sense of territory control.
Evolution of Base Building
The turning point arrived during the massive Season 4 overhaul, which introduced destructible environments and persistent territorial zones. This is when the developers fundamentally changed the rules of engagement. They implemented heavy structural mechanics, allowing squads to actually barricade doorways, weld vents shut, and reroute power grids. Suddenly, random warehouses became highly contested fortresses, and the player base had to adapt from mindless running-and-gunning to actual siege warfare.
The Modern State of the Meta
Now that we are pushing deep into the competitive seasons of 2026, the meta is ruthlessly efficient. Casual gameplay has been entirely replaced by strict, military-grade squad tactics. The environment is no longer just a backdrop; it is an active participant in the firefight. Holding the main hangars requires a deep understanding of map geometry, spawn manipulation, and economy scaling. If your team cannot adapt to the rigid structure of this modern meta, you will be systematically dismantled by squads who treat the map like a chessboard.
The Technical Engine Deep Dive
Payload Trajectory Mechanics
To truly master the drops, you have to understand the underlying physics engine that calculates the supply trajectories. When you call in a supply drop from orbit, the game server uses a complex ballistic algorithm that factors in dynamic wind resistance, atmospheric density, and the rotational velocity of the planet surface. If you toss your signal flare blindly, there is a very high probability your precious titanium shipment will clip a radio tower and scatter your loot across an irradiated zone where you can never retrieve it. You have to calculate the optimal drop vector based on the real-time weather events generated by the server.
Resource Allocation Algorithms
The loot tables are not truly random. The backend system utilizes a weighted distribution algorithm that dynamically adjusts the quality of gear spawning based on how many players are actively fighting in a specific zone. The system actively rewards aggression and risk. If your squad camps quietly in a remote corner of the map, the algorithm starves you of high-tier materials. The system is explicitly designed to force conflict around high-value nodes.
- Server tick rates aggressively prioritize hit registration for players actively standing within base capture zones, heavily punishing those with unstable latency.
- The lighting engine utilizes ray-traced dynamic shadows on the launch pads, meaning muzzle flashes will give away your exact position if you shoot from dark corners.
- Volumetric fog rendering inside the hangars actively obscures thermal vision, requiring you to physically clear corners instead of relying on gadgets.
- Loot respawn timers run on a fixed 180-second loop tied strictly to the central server clock, not player proximity.
The 7-Day Dominance Plan
Day 1: Scouting the Perimeter
Your first objective upon wipe day is pure reconnaissance. Do not engage hostile players unless absolutely necessary. Run a lightweight build equipped with silenced weapons and mobility stims. Map out the new spawn locations of the automated defense turrets and identify the quickest flanking routes into the main transit tunnels. Information is your most valuable currency right now.
Day 2: Establishing Supply Lines
Once you understand the layout, begin hoarding basic construction materials. Focus entirely on gathering copper wiring and synthetic polymers. You need these base components to craft the portable generators that will eventually power your defensive grid. Store these materials in hidden stashes just outside the main hot zones to minimize the risk of losing them to heavily armed roaming squads.
Day 3: Fortifying the Hangar
Make your move on the primary complex. Wait for two rival squads to engage each other, and third-party the surviving team while they are healing. Once you clear the area, immediately deploy heavy barricades on all ground-floor entrances. Dedicate one player to constantly weld the blast doors shut while the rest of the team sets up a crossfire network overlooking the central landing pad.
Day 4: Resource Cycling Strategies
With the doors locked down, start cycling your internal economy. Boot up the cargo links and begin passively generating fuel. Use this fuel to power the automated munitions printers. You should never be manually looting for ammo at this stage. Your base should be a self-sustaining fortress that fabricates everything your squad needs to hold the line.
Day 5: Defending Against Raids
This is when the server will throw everything it has at you. Rival clans will inevitably notice your fortified position and organize massive siege efforts. Swap your loadouts from close-quarters mobility to heavy area-denial weapons. Use incendiary grenades to lock down the choke points and utilize the automated sentry guns to suppress snipers trying to peek through the skylights.
Day 6: Upgrading Launch Pads
If you survive the raids, it is time to upgrade the extraction hardware. Pour all your excess credits into the anti-air batteries surrounding the landing zone. You need to ensure that when your extraction ship finally breaks atmosphere, it is not immediately shot down by hostile anti-armor rockets. You want the airspace completely sterilized before you even think about leaving.
Day 7: Full Extraction Protocol
The final phase. The radioactive storm is closing in, and the server is wiping. Trigger the main terminal to call the heavy transport. Pop smoke grenades across the entire runway to obscure thermal tracking. Move as a single, tight unit into the cargo bay, keeping your heavy gunners watching the rear. Once those bay doors close, you have officially conquered the hardest challenge the game has to offer.
Myths and Reality of Sector Control
Myth: You need a massive clan to hold the primary hangar successfully.
Reality: A highly coordinated trio with specialized loadouts and perfect communication can easily outmaneuver and destroy a disorganized ten-man clan purely through superior trap placement and choke-point control.
Myth: Defensive modules are a waste of credits compared to offensive weapon upgrades.
Reality: Passive defenses win games. An upgraded shield generator will save your squad from a targeted orbital strike, whereas a shiny new assault rifle won’t help you if you are vaporized instantly.
Myth: The automated sentry turrets have perfect aim tracking and cannot be bypassed.
Reality: Sentry turrets run on a delayed target-acquisition loop. You can easily bait their tracking lasers by tossing empty decoy grenades, allowing your squad to sprint past them while they are locked onto the distraction.
Frequently Asked Questions
What is the exact respawn timer for the boss loot crate?
The heavy loot crate respawns precisely 12 minutes after the hangar blast doors are initially hacked, assuming the power grid remains online.
Can solo players realistically hold the base?
It is incredibly punishing, but a solo player using a stealth build can ghost through the vents, hack the system, and steal the high-tier loot before a large squad even realizes they are inside.
Do smoke grenades block thermal optics?
Only the Tier 3 tactical smokes contain the specialized chemical compound required to mask heat signatures from modern thermal scopes.
How do I stop the orbital strike?
You must physically access the roof terminal and reroute the tracking signal, or invest 800 credits into the localized shield generator module.
What is the best weapon for close-quarters base defense?
The heavy flechette shotgun consistently outperforms standard SMGs when holding tight stairwells and narrow ventilation shafts.
Do proximity mines persist after death?
No. Once your entire squad is eliminated and sent back to the lobby, all placed explosives automatically despawn to prevent map clutter.
Can the extraction ship be destroyed?
Yes. If the landing pad takes too much sustained explosive damage before boarding, the ship aborts the sequence, leaving you stranded for another 5 minutes.
Securing the facility is an intense, rewarding experience that demands tactical precision, relentless teamwork, and an aggressive mindset. Now boot up your rig, gather your most trusted squadmates, drop into the hostile zone, and claim your territory!





Leave a Reply