
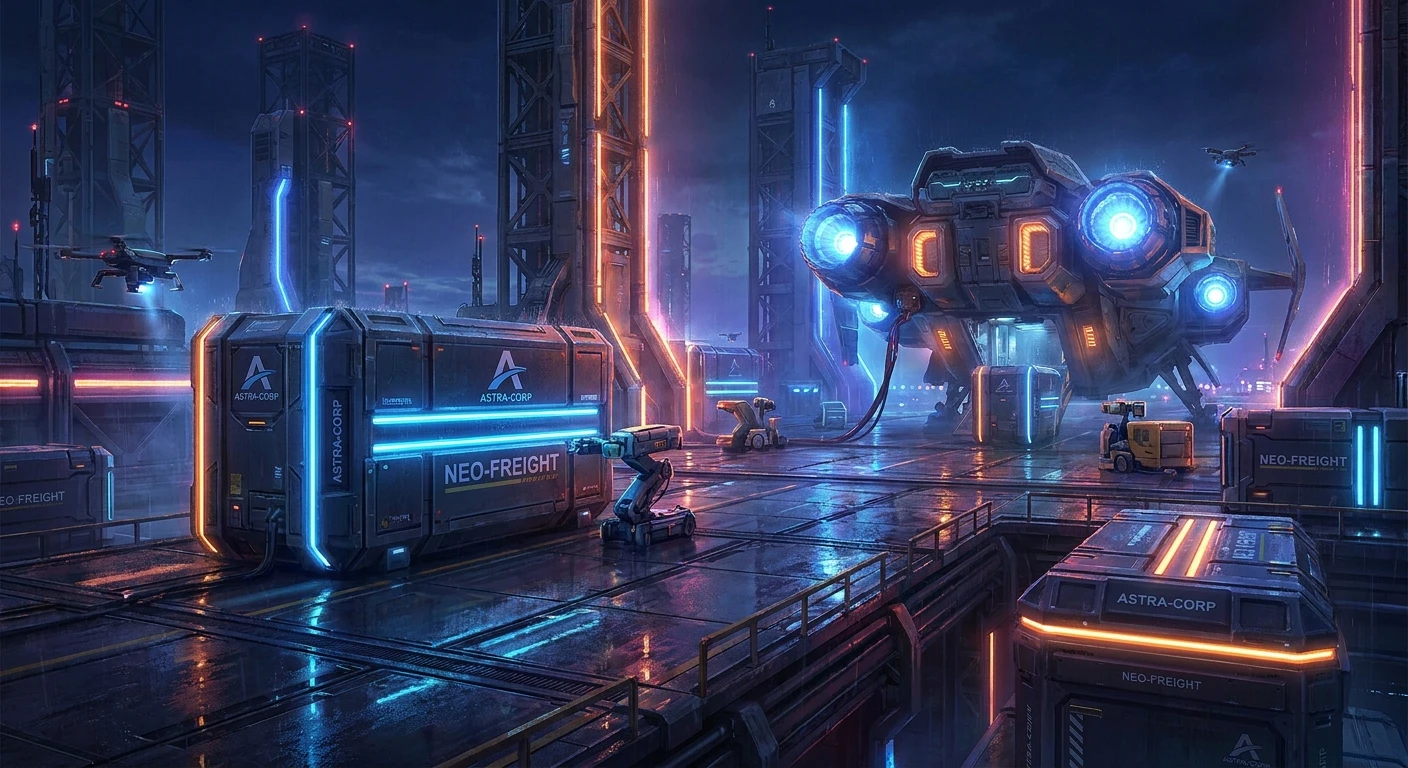
Mastering Spaceport Supply Drop Locations
Finding the optimal spaceport supply drop locations is critical for grabbing high-tier loot before the enemy squad even touches the ground. If you want to secure an early advantage, control the pacing of the match, and outfit your team with the strongest gear available, you absolutely need to know exactly where these high-value crates touch down. Dropping into a highly contested point of interest requires more than just fast reflexes; it demands an intimate understanding of the map’s geometry, the flight trajectories, and the specific angles that provide unbreakable cover. You cannot just float aimlessly and hope for a decent weapon to spawn. The early game dictates the mid-game rotation, and securing a pristine loadout right off the bat sets the tempo for your entire match. By mapping out the precise spawn coordinates of these supply crates, you transition from playing defensively to actively hunting the opposition. This guide breaks down the tactical nuances of these specific coordinates, helping you build a reliable strategy for every single deployment. When you prioritize the right sectors, you eliminate the randomness of the loot pool and ensure your squad is always equipped for a heavy firefight. Let us get straight into the details and look at how to dominate the map from the very first second.
Understanding the value of these strategic zones goes far beyond simply finding better weapons; it is about establishing territorial dominance and controlling choke points. When you memorize the prime spaceport supply drop locations, you effectively command the gravitational center of the map. Enemy teams are naturally drawn to these crates, meaning you can either loot them quickly or use them as perfectly placed bait to set up deadly crossfires. The primary benefit here is the sheer consistency of the gear you acquire. You bypass the tedious process of scavenging through low-tier civilian structures and immediately equip military-grade armor, specialized optics, and heavy ordnance. The risk is undeniably high, as multiple teams often converge on the exact same coordinates, but the tactical payoff is unparalleled. If you secure the central launchpad crate, you gain immediate access to a sniper rifle that can lock down the entire eastern quadrant. Alternatively, securing the underground maintenance bay crate provides your close-quarters specialist with a heavy shotgun and kinetic armor, perfect for holding narrow corridors. The value proposition is clear: you trade early-game safety for endgame stopping power. To give you a clearer picture of what you are walking into, here is a detailed breakdown of the primary drop zones.
Read also: Conquer the Field Depot Spaceport; Mastering Arc Surveyors for Stealth Recon.
| Area Name | Loot Tier Profile | Contestation Level |
|---|---|---|
| Main Launch Pad Alpha | Tier 3 Weapons & Armor | Extremely High |
| Underground Maintenance Bay | Tier 2 Tactical Gear & Meds | Moderate |
| Refueling Depot Tower | Tier 3 Sniper Optics | High |
To consistently survive the initial chaos at these hotspots, you need a disciplined approach. Hitting the ground first is only half the battle. Here is exactly how you should execute your landing phase.
- Optimize your parachute trajectory: Calculate the optimal distance from the dropship to the target coordinate, ensuring you dive at the steepest angle possible for maximum velocity before pulling the chute.
- Assign specific squad roles: Designate one player to immediately contest the crate while the other two secure the surrounding perimeter and gather floor loot to provide immediate covering fire.
- Secure immediate hard cover: Never loot a crate while standing still in the open; always use smoke grenades or position yourself behind the metal blast doors adjacent to the drop site to avoid incoming sniper fire.
The Origins of the Spaceport Map Design
The layout of the map we play today looks vastly different from its original iteration. In the early days of development, the central map area was simply a massive, barren crater with a few scattered concrete bunkers. The developers noticed that players were avoiding the center of the map entirely, opting to land on the safe outer edges and play a slow, passive game. To force more dynamic engagements, the design team completely overhauled the terrain, constructing a massive orbital facility right in the middle of the map. This structural shift fundamentally changed how teams navigated the terrain, creating a high-stakes focal point that rewarded aggressive playstyles. The introduction of verticality meant that ground-level tactics were no longer sufficient; players had to learn how to fight across multiple elevations.
Evolution of Loot Trajectories
Initially, the supply drops fell completely at random, leading to situations where a powerful weapon might land completely outside the playable zone or on top of an inaccessible mountain peak. The community provided heavy feedback regarding this frustrating randomness. In response, the developers implemented a fixed-coordinate system tied specifically to the orbital infrastructure. Crates were programmed to only land on reinforced platforms, loading docks, and designated helipads. This evolution turned a purely random mechanic into a highly strategic element of the game. Squads could finally plan their rotations based on predictable spawn algorithms, allowing for high-level competitive strategies to form around these exact coordinates.
The Modern State of Drop Dynamics
Today, the meta revolves almost entirely around securing and defending these high-value zones. The developers have fine-tuned the risk-versus-reward ratio by adding automated defense turrets and laser tripwires near the most lucrative crates. You can no longer just sprint up to a supply box and grab the contents; you have to disable security measures or hack terminals first. This modern state of gameplay forces squads to communicate effectively and manage their time perfectly. The orbital center has become a chaotic, beautifully designed arena where only the most coordinated teams survive the first five minutes of the match.
Analyzing Drop Zone Algorithms
To truly master the map, you need to understand the underlying mathematics of the spawn system. The game engine uses a pseudo-random number generator, but it is heavily weighted by server tick rates and player proximity parameters. When a match initializes, the server calculates the flight path of the dropship and immediately cross-references it with a grid of potential spawn nodes. If the flight path bisects the central quadrant, the algorithm guarantees that at least two high-tier crates will spawn within the blast shield perimeter. This means you can actually predict where the best gear will be before you even jump. Furthermore, the server implements a loot distribution cap; if a Tier 3 heavy sniper spawns in the northern depot, the southern depot is mathematically restricted to spawning tactical gear or medical supplies. Understanding this logic allows you to ping the correct sector for your team with absolute confidence.
Topography and Cover Metrics
The geometry of the drop zones is specifically designed to create high-tension firefights. Every single crate location features a deliberate mix of unbreakable hard cover and destructible soft cover. For instance, the crates that land near the refueling tanks are surrounded by metal barriers that block 100 percent of kinetic damage but are highly susceptible to thermal explosives. The tactical topography requires you to evaluate the angles of approach. If you are pushing from the low ground, you have a 45-degree line-of-sight disadvantage against players on the catwalks.
- Spawn Node Density: The central pad contains exactly 14 potential crate spawn nodes, heavily favoring the eastern blast doors.
- Line-of-Sight Blockage: The giant exhaust vents provide a 60 percent visual obstruction from the sniper towers, creating a safe corridor for flanking.
- Render Distance Engine Limits: Player models interacting with the main crate will render up to 800 meters away, but the crate itself only renders at 600 meters, requiring optics to confirm the drop status from afar.
- RNG Crate Weights: There is a fixed 12.5 percent chance for a crate to contain the experimental railgun, strictly limited to the underground maintenance bay nodes.
Step 1: Assessing the Flight Path
The second you load into the dropship, pull up your tactical map and trace the linear path of the aircraft. You need to determine whether the main orbital facility is an early drop, a mid-path drop, or an end-of-the-line drop. If it is early, expect half the lobby to jump instantly. If it is late, you might only face two or three highly patient squads. Adjust your mental readiness based on the proximity of the flight line to the central coordinate.
Step 2: Scouting the Outer Perimeter
As you deploy your parachute, use your freelook camera constantly. Do not just stare at the ground. You need to count the exact number of enemy contrails diving toward the same sector. If you see four full squads heading for the main pad, loudly communicate to your team to divert to the outer perimeter buildings. Securing a basic submachine gun in the surrounding barracks is vastly superior to dying unarmed in a fistfight over the main crate.
Step 3: Initial Touchdown Strategies
Aim for the elevated catwalks rather than the ground floor. Hitting the ground floor puts you at an immediate disadvantage against players who landed on the roof and are now shooting down at you. Practice the technique of clipping the edge of a railing with your boots to cancel your parachute animation slightly early, shaving crucial milliseconds off your landing time. Every frame matters in a contested drop.
Step 4: Securing the Primary Container
Once you are on the ground and the immediate area is clear of immediate threats, designate your fastest looter to hit the crate. Do not have your entire squad crowd around the box. The player opening the container should use quick-loot keybinds to instantly transfer high-tier armor and weapons directly into their inventory without manually dragging items across the user interface. Speed is your absolute best defense here.
Step 5: Establishing Defensive Angles
The moment the crate is opened, a global audio cue alerts nearby players. You must instantly pivot from a looting mindset to a defensive stronghold mindset. Position your long-range player on the high ground overlooking the primary choke points. Have your close-quarters player hold the stairwell leading up to your position. Create a crossfire that punishes any squad trying to clean up the fight while you are vulnerable.
Step 6: Managing Inventory Efficiently
In the quiet moments after the initial rush, consolidate your resources. Drop unnecessary ammunition types for weapons you did not find. Share medical supplies evenly among the squad. If someone secured a heavy sniper, ensure they have all the high-caliber rounds. Efficient inventory management prevents panic during the late-game circles when you cannot afford to be digging through your backpack looking for a shield battery.
Step 7: Planning the Exit Rotation
You have the gear, you survived the drop, and now you need to leave before the zone collapses. Do not overstay your welcome. The orbital facility is a magnet for third-party attacks. Locate the nearest zipline, vehicle spawn, or jump tower and execute a clean rotation toward the next geographic advantage. Getting out alive with the loot is just as important as winning the initial drop fight.
Myth: Center drops are always the best strategy.
Reality: While the center offers dense loot, the chaotic nature of multiple squads landing simultaneously means your survival rate drops drastically. Sometimes, looting a peripheral building and flanking the surviving, weakened team in the center is a far superior tactical maneuver.
Myth: Supply crates always spawn identical gear.
Reality: The loot tables are heavily randomized based on server algorithms. While a Tier 3 crate guarantees high-quality items, it could contain a heavy machine gun just as easily as it could contain a thermal sniper rifle. You must adapt to what the crate gives you.
Myth: You need a full squad to secure a drop.
Reality: A skilled solo player can absolutely secure a high-tier crate by utilizing stealth mechanics, smoke grenades, and audio decoys. It requires significantly more patience and perfect timing, but isolating a chaotic firefight and stealing the loot is completely viable.
Where is the safest supply drop?
The safest locations are typically on the extreme northern edge of the facility, near the abandoned cargo bays, as most players naturally gravitate toward the central launchpad.
Do flares trigger additional drops?
Yes, finding a red tactical flare in floor loot allows you to call in a customized drop, but it emits a massive column of smoke that alerts the entire lobby to your exact location.
What is the respawn timer for crates?
Crates do not respawn in this mode. Once a container is opened and looted, it remains empty for the duration of the match.
Can vehicles access the central pad?
Light tactical rovers can navigate the ramps leading to the central pad, but heavy armored trucks will get stuck in the narrow security checkpoints.
Do seasonal updates change these locations?
Developers frequently shift the micro-geography of the map during major patches, subtly moving spawn nodes by a few meters to disrupt established metas.
Is high-ground always an advantage here?
Generally yes, but the massive exhaust vents on the roof periodically vent superheated steam, which can damage players and obscure vision, making the high ground temporarily hazardous.
How do weather effects impact visibility?
Dynamic fog and rain heavily obscure the bright neon lights of the crates, forcing players to rely on thermal optics or close-range scouting to verify if a drop has been looted.
Dominating the tactical landscape requires a deep understanding of mapping, timings, and risk management. By studying these spaceport supply drop locations, you equip yourself with the knowledge needed to consistently outplay your opponents and gear up efficiently. The next time you are in the dropship, communicate your plan, aim for the prime coordinates, and take control of the match from the first second. Load up your game, drop into the facility, and test these strategies today!





Leave a Reply