
Winning the Map: Your Guide to Victory Ridge and Beyond
So, you’ve dropped into the world of Arc Raiders, and honestly, it’s a lot to take in. Between the massive machines trying to turn you into a pancake and the constant scramble for scrap, just figuring out where you are is half the battle. If you’re looking for Victory Ridge or trying to track down the Broken Monument, you aren’t alone. These spots are hot right now, and for good reason. They aren’t just landmarks; they are the keys to finishing quests and getting that sweet, sweet loot.
I’ve spent a ridiculous amount of time running these hills, and let me tell you, it’s easy to get turned around when a drone is screaming in your ear. But once you get the layout of the land, the game changes. You stop panicking and start planning. Victory Ridge isn’t just a cool name-it’s a high-ground position that can either be your best friend or your worst nightmare depending on who gets there first.
And then there is the Broken Monument. It sounds like something out of a history book, but in the game, it’s a beacon for trouble. Usually, if you’re heading there, you’ve got a specific objective in mind, like finding the Communication Hideout. Let’s break down how to actually find these places without getting scrapped in the first five minutes.
The Lay of the Land: Victory Ridge
Victory Ridge is one of those spots that looks simple on a map but feels like a maze when you’re on the ground. It’s located in the more rugged, elevated part of the zone. The elevation is the big draw here. If you’re a fan of sniping or just like seeing the enemy before they see you, this is where you want to be.
But here is the catch: everybody knows that. You’ll often find other Raiders camping the peaks or machines patrolling the base. When you’re approaching the ridge, don’t just run up the main path. That’s a one-way ticket to a respawn screen. Use the rocks for cover. There are these little crevices and natural ramps that let you flank the main plateau.
Why Victory Ridge Matters
- High vantage points for scouting nearby extractions.
- Reliable spawns for mid-tier loot containers.
- It’s a natural chokepoint for players moving toward the center of the map.
If you’re doing the early-game missions, you’ll probably be sent here to “secure the area” or find a specific drop. My advice? Get in, grab what you need, and don’t linger. The longer you stay on the ridge, the more likely you are to attract a roving pack of bots or a squad of hungry players.
Hunting for the Broken Monument
The Broken Monument is a bit more somber. It’s a massive, crumbling structure that stands out against the horizon. It’s located further down into the valley areas compared to the Ridge. It serves as a fantastic navigational tool. If you can see the Monument, you generally know exactly where you are in relation to the main extraction points.
The area around the Monument is cluttered with debris. This is great for stealth. If you’re playing solo, use the fallen slabs of stone to break line-of-sight. The machines in this area tend to be a bit more aggressive, especially the smaller, faster ones that like to flush you out of cover.
What to Look for Near the Monument
| Feature | Description | Danger Level |
|---|---|---|
| The Plinth | The base of the monument, often holds small scrap piles. | Low |
| Crumpled Rebar | Good for hiding, but loud if you sprint through it. | Medium |
| Open Plaza | The killing field surrounding the structure. Avoid staying here. | High |
Usually, players head to the Broken Monument because it’s a precursor to finding the Communication Hideout. It’s like a giant signpost saying “You’re getting warmer.”
Cracking the Communication Hideout
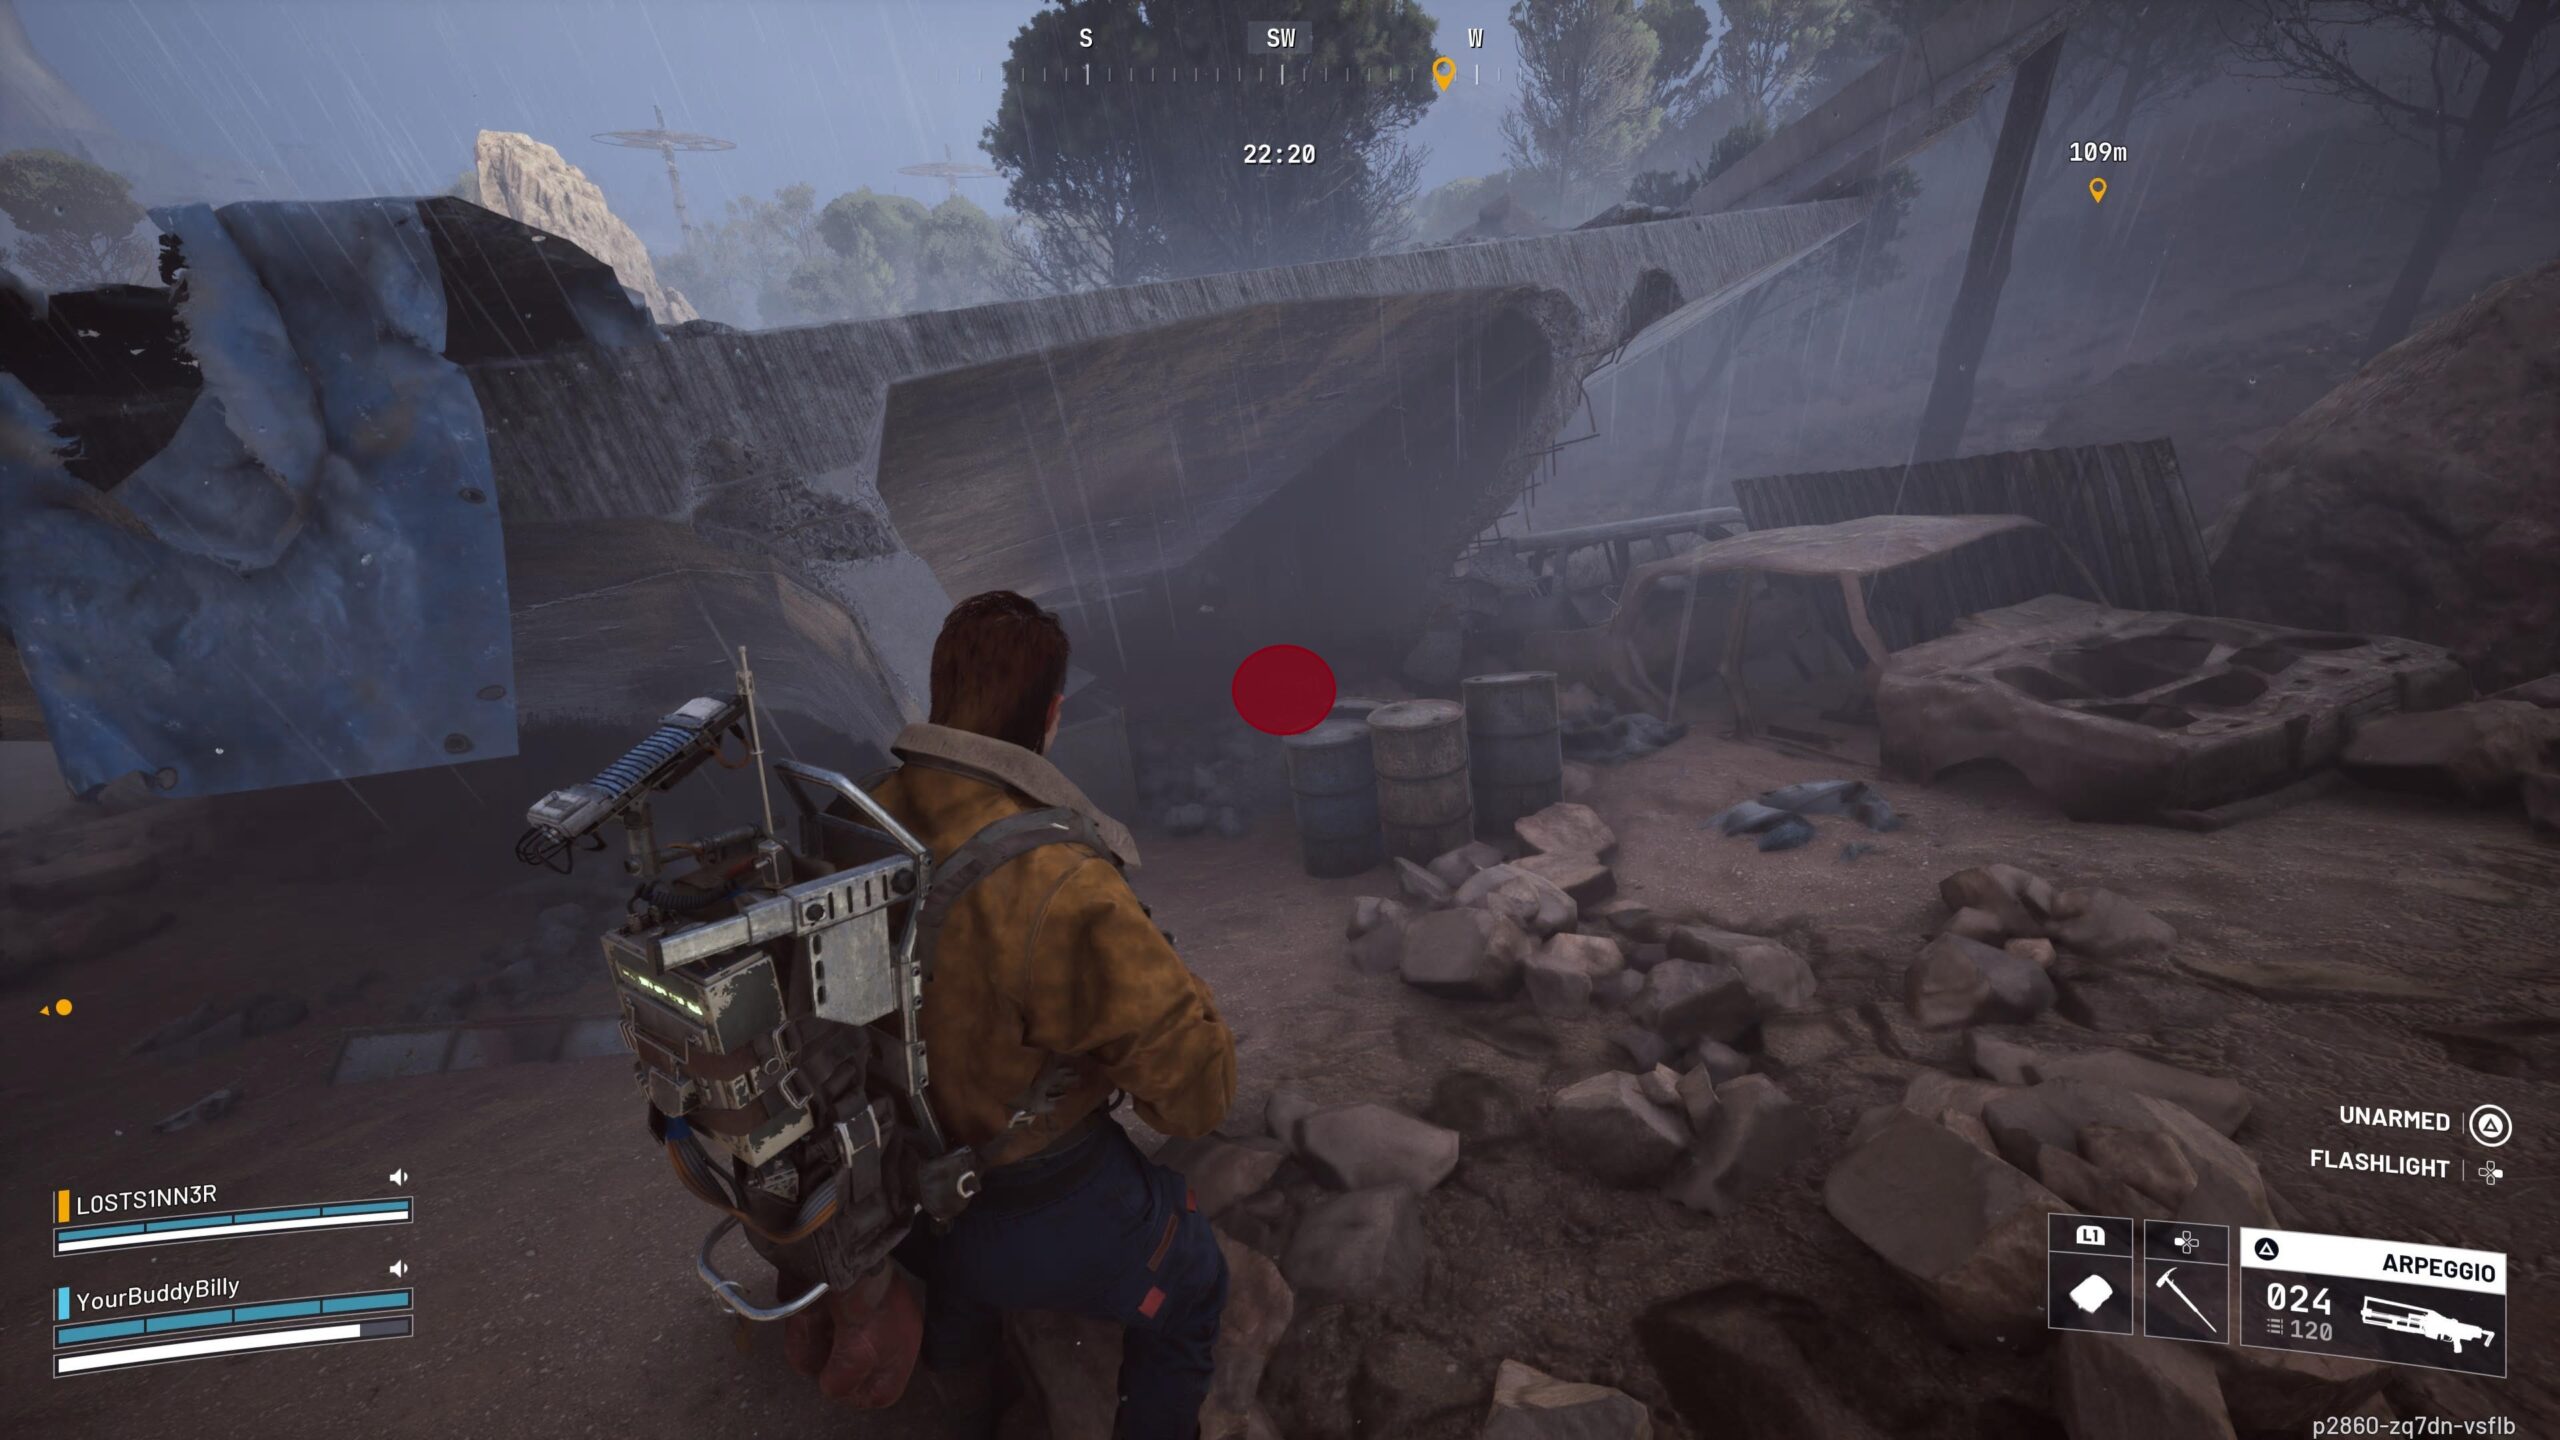
Now, this is where things get interesting. The Communication Hideout isn’t something you just stumble upon while whistling a tune. It’s tucked away, and if you aren’t looking for the specific markers, you’ll walk right past it. It’s usually located in the periphery of the Broken Monument or nestled in the rocky transitions near Victory Ridge.
The Hideout is exactly what it sounds like-a small, fortified bunker or cellar that was used for transmissions. In terms of gameplay, it’s a quest hub. You’ll go there to download data or upload coordinates. The interior is cramped. If you’re going in, bring a shotgun or something that hits hard at close range. There’s nothing worse than getting cornered in a basement by a Raider with a faster trigger finger.
Survival Tips for the Hideout
- Listen before you enter. You can hear the hum of electronics or the footsteps of someone already inside.
- Check the corners. People love to sit in the dark spots near the entrance.
- Keep an eye on your extract timer. The Hideout is deep in the zone, and running back takes longer than you think.
Honestly, the Communication Hideout is a bit of a gamble. Sometimes it’s empty and you get your quest done in thirty seconds. Other times, it’s a meat grinder. Just make sure you have your exit strategy mapped out before you even step foot inside.
Gear and Preparation
You can’t just head to Victory Ridge in your pajamas. Well, you can, but you won’t last long. Since these areas involve a mix of long-range sightlines (the Ridge) and tight interiors (the Hideout), your loadout needs to be versatile.
I usually suggest a “mid-to-long” setup. An assault rifle with a decent optic is your bread and butter. It lets you pick off drones at the Ridge but still gives you a fighting chance inside the Monument’s ruins. Don’t forget your gadgets. A distraction lure or a quick-deploy shield can save your life when you’re caught in the open plaza.
Recommended Loadout for High-Ground Exploration
| Slot | Item Type | Why? |
|---|---|---|
| Primary | Battle Rifle | Great for the long sightlines at Victory Ridge. |
| Secondary | SMG or Shotgun | Essential for clearing the Communication Hideout. |
| Tactical | Scan Pulse | Finds hidden Raiders in the ruins of the Monument. |
Also, watch your stamina. Both Victory Ridge and the area around the Monument require a lot of climbing and sprinting over rubble. If you run out of juice right when a machine spots you, it’s game over. Keep some stamina boosters in your pouch just in case.
The Cultural Impact of the Ruins
It’s easy to forget while you’re dodging bullets, but the world of Arc Raiders has a story. Seeing the Broken Monument makes you wonder what the world looked like before the machines arrived. The contrast between the cold, calculated tech of the Arc and the crumbling stone of human history is pretty striking.
The developers did a great job making these places feel lived-in-or at least, formerly lived-in. When you find the Communication Hideout, look at the posters on the walls or the way the equipment is set up. It adds a layer of “human touch” to a game that could easily feel like just another shooter. It’s why people get so invested in these specific locations. They aren’t just points on a grid; they’re pieces of a puzzle.
Common Mistakes to Avoid
Look, we’ve all done it. You see a shiny box near the Broken Monument and you run for it without checking your surroundings. Next thing you know, you’re a red mist. Here are a few things I’ve learned the hard way so you don’t have to.
First, don’t ignore the verticality. At Victory Ridge, the threat often comes from above. Keep your eyes on the higher cliffs. Second, don’t trust the silence. The areas around the Communication Hideout can stay quiet for five minutes and then explode into chaos in five seconds.
Quick Mistakes Checklist
- Running across the open plaza of the Monument without smoke or cover.
- Forgetting to check the roof of the Hideout for campers.
- Staying at Victory Ridge after the sun starts to go down (visibility drops fast).
Basically, play it cool. The game rewards patience more than it rewards a fast sprint. If you take an extra ten seconds to scout with your binoculars, you’ll probably find a safer path that avoids a squad of three raiders waiting in ambush.
Where to Go After Success
So, you’ve hit the Ridge, checked the Monument, and cleared the Hideout. What’s next? Usually, you’ll want to head toward the nearest extraction point. But be careful-the paths leading away from these high-value areas are often watched.
If you have a lot of scrap, consider taking the long way around. Following the base of the cliffs near Victory Ridge is often safer than taking the direct road. It’s slower, sure, but “slow and alive” is better than “fast and dead” every single time.
Is it Worth the Risk?
You might be asking if trekking all the way out to these spots is even worth it. If you’re just looking for basic scrap, maybe not. You can find that anywhere. But if you want to progress the story, unlock better gear, and actually see what the game has to offer, then yes, absolutely.
Victory Ridge and the Broken Monument are iconic for a reason. They challenge you to use all the mechanics of the game-stealth, shooting, and movement. Plus, the feeling of successfully extracting after a tense run through the Communication Hideout is one of the best rushes you can get in a game like this.
Frequently Asked Questions
How do I find Victory Ridge quickly?
Just head toward the northern highlands on your map. Look for the highest peaks with visible structures; that is usually your best bet.
Is the Broken Monument always guarded?
Not always, but it’s a high-traffic area. If you don’t see machines, stay alert for other players who might be lurking in the shadows.
What is inside the Communication Hideout?
Usually, you’ll find quest-related terminals, some high-value tech scrap, and occasionally a weapon crate if you’re lucky.
Can I solo the run to Victory Ridge?
You can, but it’s tough. Use stealth and long-range weapons to keep your distance from the bigger machine patrols.
Why can’t I find the entrance to the Hideout?
Check behind overgrown bushes or under the main concrete slabs near the Monument ruins. It’s meant to be “hidden,” after all.
Is there a specific time to visit these spots?
Early in the match is usually quieter, but as the timer ticks down, these areas become magnets for players looking for last-minute loot before extraction.
Do I need a keycard for the Communication Hideout?
Most of the time it’s open for quests, but some specific rooms inside or nearby crates might require a hacked key or a specific tool to open.
Wrapping it All Up
Navigating the world of Arc Raiders is all about knowing your surroundings. Whether you are scaling the heights of Victory Ridge or picking through the rubble of the Broken Monument, information is your most valuable resource. Don’t rush, watch the skies for drones, and always have an exit plan when you enter the Communication Hideout. It’s a dangerous world out there, but with the right map knowledge, you’ll be the one coming home with the loot while everyone else is just trying to find their way. Keep your head down and your eyes open.
Would you like me to create a more detailed guide on the specific loot drops found at the Broken Monument?
SEO Title: Victory Ridge & Broken Monument Guide – Arc Raiders
Meta Description: A deep dive into finding Victory Ridge and the Broken Monument in Arc Raiders. Tips on the Communication Hideout and how to survive the map’s hottest zones.
How to Survive Victory Ridge and the Broken Monument
If you’ve spent more than five minutes in Arc Raiders, you know that the map isn’t exactly a walk in the park. It’s more like a walk through a park filled with giant, angry robots that want to stomp you into the dirt. Two places that keep popping up in everyone’s quest logs are Victory Ridge and the Broken Monument. If you’re struggling to find them or just keep getting smoked as soon as you arrive, don’t sweat it. It happens to the best of us.
These spots are basically the heart of the action. Victory Ridge gives you that sweet tactical advantage of high ground, while the Broken Monument is a landmark that everyone uses to navigate. But because they’re so popular, they’re also incredibly dangerous. You aren’t just fighting the environment; you’re fighting every other Raider who had the same idea as you.
Getting to Victory Ridge Without Dying
Victory Ridge is all about elevation. It’s located in the more mountainous part of the region, and you can usually spot it from a distance by the jagged cliffs and the abandoned outposts perched on top. The problem is that getting up there usually involves funneling yourself through narrow paths-and that’s where people love to set up ambushes.
When you’re heading up, try to avoid the main roads. Look for the rocky outcroppings that you can mantle over. It’s a bit slower, but it keeps you out of the line of sight of anyone sitting at the top with a sniper rifle. Once you’re up there, the view is great, but don’t get distracted. The Ridge is a prime spot for drone patrols.
The Mystery of the Broken Monument
The Broken Monument is a bit further down the map, usually in a more open, desolate area. It looks like a giant, shattered pillar or statue, and you can’t miss it. It’s a great place to meet up with your squad, but it’s also a total “killing field.” Because it’s so open, you’re a sitting duck if you just stand around the base.
If you need to be there for a quest, stay low. Use the fallen chunks of the monument as cover. There is usually a lot of scrap scattered around the perimeter, but the high-tier stuff is tucked closer to the center.
Locating the Communication Hideout
The Communication Hideout is the real prize for many players. It’s often linked to the Monument or the Ridge area, tucked away in a spot that looks like just another pile of rocks until you get close. This is where you’ll handle most of your data-related tasks.
- Look for yellow cables on the ground; they often lead to the entrance.
- The entrance is usually a heavy steel door or a hole in the concrete.
- Check your HUD-if you’re on a quest, the marker will get much more precise once you’re within 50 meters.
Inside, it’s a different game. It’s dark, cramped, and perfect for close-quarters combat. If you’re heading in, make sure your magazine is full and your flashlight is ready.
Essential Gear Comparison
| Gear Type | Best For | Why? |
|---|---|---|
| Assault Rifle | Victory Ridge | Versatile for mid-range fights on the cliffs. |
| Shotgun | Communication Hideout | Stops rushers in tight corridors. |
| Sniper | Scouting the Monument | Lets you clear the area from a safe distance. |
Final Thoughts on the Run
Success in these areas isn’t just about having the best gun. It’s about knowing when to fight and when to run. Victory Ridge and the Broken Monument are iconic spots that offer huge rewards, but they demand respect. Take your time, use the terrain, and always keep an eye on your back. The Communication Hideout might hold the data you need, but it won’t do you any good if you don’t make it to extraction.
Would you like me to help you draft a specific loadout list for a solo run to the Communication Hideout?
FAQ: All About Victory Ridge and the Monument
Where exactly is Victory Ridge?
It’s in the northern highland sector. Look for the highest rocky ridges on your map; it’s the one with the most man-made structures on top.
Is the Broken Monument good for loot?
Yeah, but mostly for mechanical scrap and quest items. If you’re looking for high-end weapons, you might need to head deeper into the vaults.
How do I survive the Communication Hideout?
Check the corners and listen for footsteps. It’s a tiny space, so grenades are your best friend if you think someone is camping inside.
Can I find the Hideout without a quest?
You can find the location, but you might not be able to interact with the terminals unless you have the active mission.
What’s the best way to escape Victory Ridge?
Slide down the back slopes. It’s faster than running down the paths and makes you a much harder target to hit.
Are there many machines at the Monument?
Usually, yes. Expect at least one heavy patrol or a few swarms of smaller drones circling the area.
Is it better to go at night?
Night offers better stealth, but the machines have sensors that can pick you up anyway. It’s a trade-off between being seen by players vs. bots.
Conclusion
In the end, conquering Victory Ridge and finding the Broken Monument is a rite of passage for any serious Raider. These locations define the map, offering both the highest risks and the most satisfying rewards. By understanding the layout, preparing the right gear, and moving with a bit of caution, you’ll be able to navigate the Communication Hideout and beyond with ease. Just remember: the map is always changing, so stay sharp and don’t get too comfortable in one spot. Good luck out there, and see you at extraction!
Would you like me to look up the latest patch notes to see if any loot tables for these areas have changed?“`


Leave a Reply