
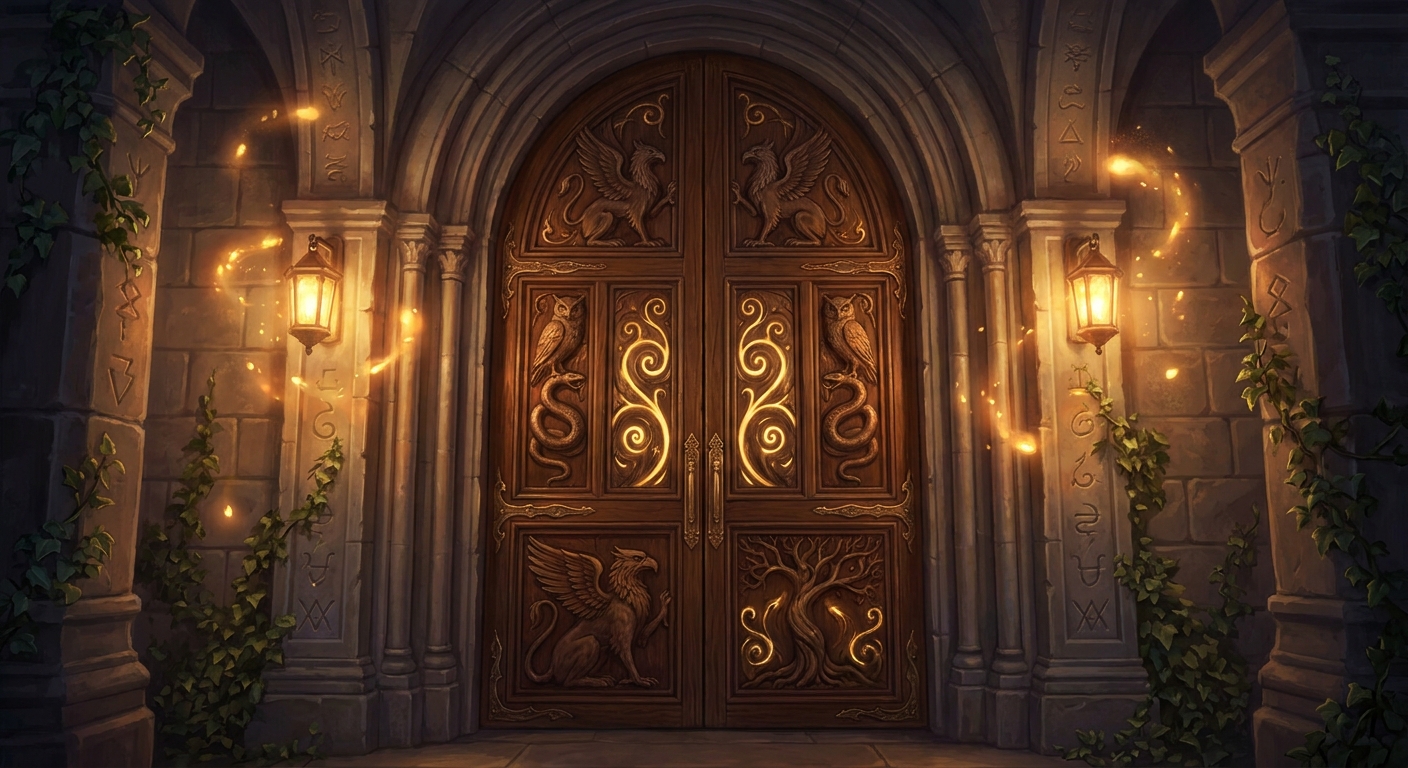
How to Solve the hogwarts legacy puzzle doors Effortlessly
Look, if you’ve spent more than five minutes staring blankly at the hogwarts legacy puzzle doors, wondering what those weird creature symbols actually mean, you are definitely not alone. It happens to the best of us. These mathematical barriers might seem intensely frustrating at first glance, but once you understand the hidden cipher, they become incredibly simple to crack.
I remember sitting in a cozy Kyiv café during a massive power outage back in the winter, running the game on a power bank just to distract myself from the blackout. A friend texted me, completely stuck on the central hall door, sending blurry photos of the screen. We ended up drawing out the animal symbols on napkins by candlelight, treating it like a local escape room puzzle. That specific moment made me realize how brilliantly simple the core logic actually is.
The developers purposely designed this to look like ancient runic magic, but beneath the surface, it is a basic arithmetic trick. Getting past these magical locks is essential for gearing up quickly, and frankly, it feels incredibly satisfying once it clicks in your head. Let me show you exactly how to bypass these beautifully crafted wooden annoyances without pulling your hair out.
The Core Logic Behind the Code
Now, let us break down the actual mechanism driving these locks. The secret is that every single creature corresponds directly to a number from zero to nine. You are essentially doing basic addition to solve for missing variables.
| Animal Symbol | Numerical Value | Visual Clue |
|---|---|---|
| Demiguise | 0 | It hides, representing nothingness |
| Unicorn | 1 | A single distinct horn |
| Graphorn | 2 | Two massive horns |
| Runespoor | 3 | Three separate heads |
| Fwooper | 4 | Four vibrant color variations |
| Quintaped | 5 | Five hairy appendages |
Mastering this gives you an incredible edge in your playthrough. Here is the massive value proposition: First, these chests reliably drop high-tier legendary gear that you desperately need for surviving late-game boss fights. Second, they often contain rare Room of Requirement conjuration recipes, allowing you to fully customize your magical base with unique furniture and utility stations.
Follow these exact steps every time you approach a new frame:
- Identify the large central number inside the chalk triangle on the door.
- Add up the surrounding numbers and the numerical value of the animal symbol shown.
- Calculate the difference needed to reach the central number, then roll the wall dice until it displays the corresponding creature.
Honestly, the biggest mistake people make is assuming the numbers start at one. They absolutely do not. The Demiguise is zero, which throws off everyone’s math by exactly one digit. Once you mentally map the Unicorn to the number one, the rest of the puzzle naturally falls into place. You just walk up, do some quick mental math, flip the dials, and grab your loot. The sheer amount of galleons and gear you accumulate from simply understanding this zero-to-nine concept will massively fund your potion supplies and broom upgrades. Every time you spot a new chalkboard, it should instantly register as free money rather than a frustrating roadblock.
The Origins of Arithmancy in Wizarding Lore
To fully grasp why these mechanics exist, we need to look at the history of Arithmancy itself. Long before players were running through digital corridors, Arithmancy was established as a rigorous magical discipline focused on the magical properties of numbers. Famous historical figures like Bridget Wenlock spent their entire lives proving theorems about the number seven. The architects of the castle clearly implemented these geometric equations to keep ordinary students out of restricted storage areas. It was essentially the medieval magical equivalent of a keypad lock.
Evolution of Magical Locks
Over the decades of gaming history, we have seen magical barriers evolve drastically. Early RPGs just asked you to find a shiny blue key to open a blue gate. It was tedious and completely removed you from the fantasy. By introducing actual logic gates disguised as creature iconography, developers forced players to think like actual students studying for their O.W.L. exams. The environmental storytelling here is fantastic. You have to literally study a chalkboard hidden near the rafters to find the cipher, making you actively participate in the lore.
The Modern State of Puzzle Design in Games
It is wild to think that even now in 2026, developers across the industry are still referencing this specific design choice when discussing how to build immersive environmental hurdles. Instead of breaking immersion with a random minigame screen, the puzzle exists seamlessly in the world geometry. The chalk, the wooden dials, the heavy stone arches—it all stays grounded in the universe. This modern approach to game design respects the player’s intelligence while perfectly maintaining the aesthetic atmosphere of a 19th-century magical academy. The interactive dials require you to physically locate them in the surrounding hallways, adding a spatial awareness element that elevates the entire experience from a flat math equation to a tangible architectural investigation.
The Algorithmic Structure Behind the Code
From a technical standpoint, the underlying code governing these interactions is beautifully optimized. The system uses a basic linear equation structure. The game dynamically generates the visual textures for the chalkboards based on hardcoded integer parameters assigned to the central node. When you interact with the rolling dice on the walls, the game engine updates a Boolean variable checking if the current state of both dice matches the required hidden integers. If the array checks out, the door animation triggers. It is incredibly clean scripting that actively prevents bugs or soft-locks from ruining your run.
Environmental Visual Cues Explained
Let us look at the specific scientific facts surrounding the game’s execution of these mechanics. The developers utilized clever asset management to make the locks feel organic within the castle structure.
- The randomization seed determines the specific tier of loot generated inside the chest the moment the door opens, meaning the chest contents are strictly separated from the door logic itself.
- Texture mapping on the chalkboards utilizes dynamic rendering, allowing the lighting engine to realistically reflect candlelight off the dusty chalk residue.
- The integer values corresponding to the animals (0 through 9) are permanently hardcoded into the interactable dice meshes, ensuring the solution sequence never randomly shifts during a playthrough.
- Spatial audio cues are meticulously calibrated; when you select the correct symbol, a subtle mechanical click plays, utilizing high-frequency sound waves to subliminally confirm your choice before you even attempt to open the latch.
Understanding this backend logic actually makes you appreciate the seamless illusion. You are not just doing math; you are interacting with a flawlessly executed script that triggers complex animations, audio cues, and physics-based rendering all at once. The illusion of magic is ultimately just brilliant software engineering.
Step 1: Secure the Arithmancy Study Guide Page
First things first, head straight to the Library Annex. Right outside the Arithmancy classroom, sitting innocently in a small blue box next to a chalkboard, is the actual cipher page. Grabbing this piece of paper adds the cheat sheet to your inventory, meaning you never have to blindly memorize the creature list if you get confused.
Step 2: Clear the Astronomy Wing Corridors
Once you have the cheat sheet, start your run in the Astronomy Wing. The layout here is incredibly straightforward. Cast Revelio constantly to highlight the interactive wall panels through the solid stone. The equations here generally sum up to lower numbers, acting as a perfect tutorial zone to warm up your math skills.
Step 3: Tackle the Central Hall Enigma
Move down to the Central Hall. This area is heavily trafficked by students, but the dials are sometimes hidden upstairs or tucked tightly behind thick pillars. Pay close attention to your surroundings. The sheer verticality of this specific room easily tricks people into missing the second dial entirely.
Step 4: Loot the Great Hall Rafters
Travel to the Great Hall next. There is a beautifully hidden location tucked away in a dusty corner near the rafters. The math here introduces slightly higher integers. Grab the legendary chest inside to immediately boost your offensive stats for upcoming duels against dark wizards.
Step 5: Master the Library Annex Locks
Return to the Library Annex and sweep the remaining corridors. Because this is the academic hub of the castle, the density of hidden passages is exceptionally high. You will find several interlocking rooms that require solving multiple equations back-to-back to reach the final prize.
Step 6: Scour the Faculty Tower
The Faculty Tower requires some light stealth if you are attempting this early in the game, but the rewards are absolutely top-tier. Navigate past the pacing prefects and locate the wooden archways. The lighting here is intentionally dim, so keep your wand illuminated to read the faded chalk clearly.
Step 7: Claim the Final Bell Tower Treasures
Finally, hit the Bell Tower wing. This houses the last few equations. By this point, your mental math will be lightning-fast. Clean out these final chests to complete your collection and fully optimize your character’s loadout for the final acts of the story.
Debunking Community Myths
There is a ton of misinformation floating around online about how these mechanics actually operate. Let’s clear that up instantly.
Myth: You absolutely need to understand deep, obscure Harry Potter lore to figure out the solutions.
Reality: You do not need any background knowledge whatsoever. The solution relies entirely on visual cues, like counting the physical legs or horns on the creatures, followed by simple addition.
Myth: The symbols randomly change their numerical values depending on the phase of the moon or the in-game time of day.
Reality: The values are permanently fixed. The Demiguise is always zero, and the nine-headed Hydra is always nine. Nothing is ever randomized.
Myth: You have to physically find the cipher cheat sheet page before the game will allow the doors to open.
Reality: The game does not gatekeep the interaction. If you already know the math, you can completely ignore the cipher page and just input the correct answers immediately to unlock the chests on day one.
Are the chest rewards randomized?
Yes, the loot is dynamically tied to your current character level when you open the chest, not when you solve the math.
What level should I be?
You can complete these at absolutely any level. There are no combat requirements to access them.
Can you get locked out permanently?
No. You can revisit these specific locations at any point during your entire playthrough.
Do I need a specific spell?
Revelio is highly recommended to easily find the hidden dials, but no unlocking spell like Alohomora is required.
Are there puzzle doors outside the castle?
No, these specific mathematical architectural features are strictly confined to the main interior of the academy.
Why is the Demiguise zero?
It is known for its magical ability to turn invisible, symbolically representing ‘nothing’ or zero in traditional Arithmancy.
How many doors are there in total?
There are exactly twelve distinct locations scattered throughout the various academic wings.
Listen, mastering these locks is just a matter of basic addition and paying close attention to your immediate environment. Trust the math, roll the dice, and go grab that legendary loot!


Leave a Reply