
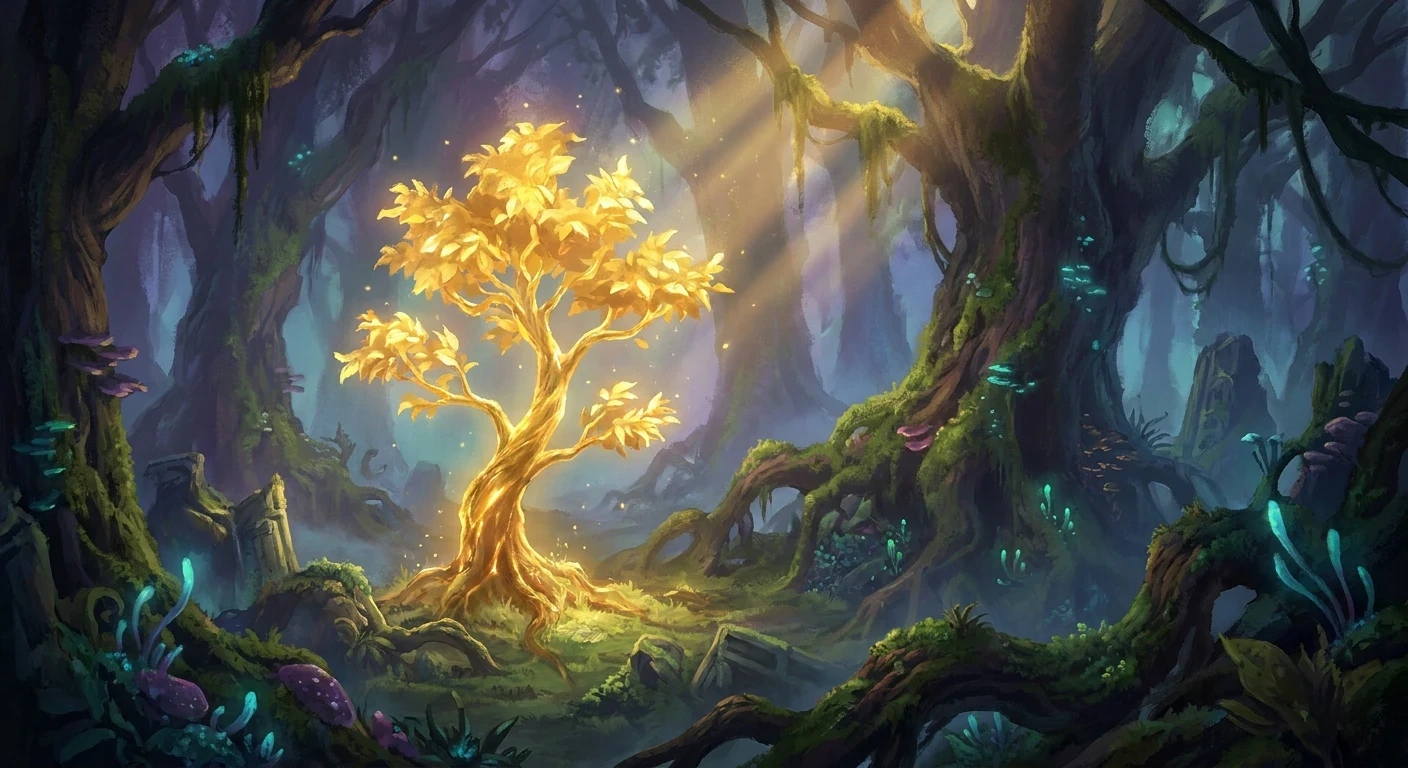
Top Golden Seed Locations to Boost Your Flasks Faster
Hey guys! Hunting down all the exact golden seed locations right when you need them is pretty much the biggest game-changer you can experience. Seriously, wandering around looking for these glowing saplings can feel like searching for a needle in a massive fantasy haystack. Back home in Ukraine, I grew up foraging for wild mushrooms in the dense, misty Carpathian forests. You had to know exactly which old trees to look under, how the morning light hit the damp moss, and when to just trust your gut instinct. Tracking down these specific glowing saplings feels exactly the same. It takes immense patience, a sharp eye for environmental details, and a solid mental map of the terrain.
I know how incredibly frustrating it is to run out of healing juice right when a boss is one hit away from dropping. We’ve all been there, gripping the controller, sweating, knowing just one more flask would have sealed the victory. That’s exactly why routing out your upgrades early is an absolute must. By mapping out exactly where to go from the second you step out into the open world, you dramatically shift the odds in your favor. I’ve spent hundreds of hours charting the optimal paths, testing different character builds, and optimizing early-game routes to ensure you never have to face a major threat without a full belt of healing.
Why Mapping Out Your Upgrades is a Lifesaver
Listen, you can have the highest damage output imaginable, but if you can’t heal when you inevitably make a mistake, you’re going back to the last checkpoint. Knowing your upgrade routes provides a massive psychological safety net. It allows you to play more aggressively, take calculated risks, and explore dangerous corners of the map without constant fear.
Think about the sheer value proposition here. Having a fully upgraded healing inventory gives you unmatched sustain. For example, grabbing the seed right outside Stormhill Shack takes barely two minutes but gives you an immediate extra heal for the game’s first major roadblock. Another great example is making a quick detour into the Weeping Peninsula—by just grabbing the three easy saplings there, you completely over-level your healing capacity for the early zones.
| Region | Seeds Available | Difficulty to Reach |
|---|---|---|
| Limgrave & Peninsula | 7 | Very Low |
| Liurnia of the Lakes | 5 | Medium |
| Altus Plateau & Capital | 12+ | High |
If you want to absolutely dominate the early hours, follow these specific strategies:
- Prioritize starting areas: Never rush the story bosses until you have scoured the initial grassy plains. There are enough saplings lying around in plain sight to get you an extra three or four heals before you even face a real threat.
- Look for glowing trees: This sounds obvious, but train your eyes to scan the horizon for a distinct, soft golden glow. They stand out beautifully against the darker, gloomier backgrounds, especially at twilight.
- Defeat tree spirits: Not all upgrades are sitting peacefully on the ground. Some are locked behind aggressive, snakelike tree spirits hidden in the depths of fringe dungeons. Bring fire damage to melt them quickly.
Origins of the Erdtree’s Gifts
So, where do these things actually come from? If we look closely at the game’s lore, these glowing remnants are basically fragmented pieces of a massive, divine tree that shattered long ago. They are scattered like literal breadcrumbs across the continent. When the great shattering happened, these tiny saplings took root wherever the divine grace landed. It’s an incredibly cool way to tie a standard video game upgrade mechanic directly into the tragic history of a fallen kingdom. You’re not just picking up an item; you’re gathering the dying embers of a golden age.
Evolution of Flask Upgrades
If you look back at older titles in this genre, upgrading your healing usually meant bringing humanity or specific bone shards to a central bonfire. The developers decided to change up the formula drastically here. By tying the upgrades to specific, fixed environmental assets, they actively encourage wide exploration. It pushes players to check every cliff edge, every ruined church, and every hidden valley. You are constantly rewarded for your curiosity. Instead of mindlessly farming enemies for a random drop, your ability to survive is directly proportional to how thoroughly you explore the hand-crafted world.
Modern State of Routing
Even now in 2026, the speedrunning and casual communities are still finding wildly efficient ways to path out these items. We are seeing routes that allow players to hit max healing capacity within the first hour of a new playthrough by using precise jumps, teleportation traps, and clever horseback maneuvers to bypass dangerous enemies entirely. The modern community has basically turned finding these items into a highly optimized science, mapping out exact horse-gallop times between sapling spots to shave seconds off their personal bests.
The Spawning Mechanics Explained
Let’s talk tech for a second because understanding how the game actually loads these items can save you a lot of headaches. The saplings aren’t just static textures; they are dynamic entities tied to your character’s event flags. When you enter a new chunk of the map, the game engine checks a specific boolean value tied to your save file. If `HasPickedUpSeed_ID45` is false, the engine actively renders the glowing tree model and its collision box. This is why if your game crashes during an autosave right as you pick one up, the item might despawn without granting you the inventory upgrade—the flag flipped to true, but the inventory check failed.
Optimal Routing Algorithms
Interactive maps use basic Dijkstra’s algorithms to calculate the shortest path between the player’s starting spawn and the high-density upgrade zones. By understanding the XYZ coordinates of the game space, developers have created overlay tools that show you exactly where to ride.
- Render Distance Limitations: The glowing particle effects on the saplings have a higher render priority than standard foliage, meaning you can often spot them from further away if you use a telescope or a sniper bow view.
- Z-Axis Placement: Many saplings are deliberately placed on elevated terrain (Z-axis). If you are strictly following a 2D map, you might miss the fact that the item is physically located on a cliff 100 meters directly above you.
- Memory Allocation: Dropped items from killed tree spirits load directly into your inventory rather than dropping on the floor to prevent physics engine clipping errors in tight dungeon corridors.
Day 1: Limgrave Basics
Start your journey right as you step out of the tutorial. Make an immediate right and head straight for the ruined church. After grabbing the essentials there, ride straight up the main road to the shack before the castle gates. You can easily snag two upgrades within ten minutes without fighting a single difficult enemy. Keep your eyes peeled and just ride fast past the giant trolls.
Day 2: Weeping Peninsula Sweep
Head south across the heavily guarded bridge. This entire southern landmass is essentially a low-level training ground. There is a sapling resting on a cliff overlooking the castle, another one tucked away near a poison swamp, and a third inside a massive gorge. Grabbing all of these gives you a huge advantage before tackling the first main story boss.
Day 3: Liurnia of the Lakes Run
Once you clear the first major castle, you drop into a massive, foggy lake area. Stick strictly to the sunken ruins of the central town. You will find several glowing trees surrounded by magic-wielding enemies. Use stealth to creep up, snatch the item, and run away on horseback before their spells can track you. The density of upgrades here is incredible.
Day 4: Caelid Borders
This red, rotting wasteland is dangerous, but the borders hide quick, easy pickings. Don’t go deep into the swamp. Instead, skirt the northern highway. There’s a sapling right next to a massive map pillar and another guarded by giant dogs. Treat this day like a smash-and-grab heist. Ride in, grab the loot, and teleport out immediately.
Day 5: Altus Plateau Arrival
Taking the grand lift up to the golden fields is a milestone. The road leading to the capital city is literally lined with these trees. You can grab at least four upgrades just by following the cobblestone highway and avoiding the massive catapult fire. This is where your healing capacity truly starts to peak.
Day 6: The Capital Outskirts
Outside the massive city walls, you’ll encounter a boss duo blocking a massive set of doors. Right behind them, hidden near a courtyard, are multiple saplings clustered together. You don’t even have to fight the bosses if you maneuver carefully; you can kite them away, sprint back, and grab the items before they reset.
Day 7: Mountaintops of the Giants
In the late game, the snow-covered peaks hold the final few upgrades you need to hit the hard cap. Navigating the frozen rivers will lead you right to a freezing tree spirit. Take it down with heavy fire spells, and collect your final upgrade. By now, your flask should be fully maxed out, ready for the endgame gauntlet.
Clearing Up Common Misconceptions
Myth: You have to find every single one to hit max level.
Reality: Not even close! The game is incredibly generous. There are actually over 40 of these items scattered across the world, but you only need 30 to completely max out your healing charges. You can skip the most frustrating ones entirely.
Myth: The saplings only glow visibly during night cycles.
Reality: Time of day has absolutely zero mechanical effect on the rendering of the golden particles. They might visually pop more against a dark sky, but they are fully visible at high noon.
Myth: Co-op partners can pick up your seeds.
Reality: Critical upgrade items are instanced entirely to the host player. Your friends cannot steal your upgrades, nor can they drop theirs for you to pick up. You have to earn your own.
Myth: They respawn dynamically after a blood moon event.
Reality: Once picked up, they are permanently gone from that specific playthrough. They will only respawn if you beat the game and start a New Game Plus cycle.
FAQ: Are there missable golden seeds?
No, there are no story cut-offs that permanently block you from grabbing these items. Even if an area drastically changes physically near the end of the game, the saplings will simply relocate slightly to remain accessible.
FAQ: Do golden seeds carry over to NG+?
Yes, your flask upgrade level carries over perfectly into your next playthrough. Any leftover inventory items will also stay in your bags, though you can’t use them to upgrade past the hard cap.
FAQ: Can I drop a golden seed for a co-op partner?
No. Key upgrade materials cannot be traded or dropped for other players to prevent artificial early-game boosting.
FAQ: What is the absolute maximum flask limit?
You can hold a maximum of 14 charges total, which you can distribute between health and magic regeneration however you see fit at any resting point.
FAQ: Do I need a specific tool to harvest them?
Nope! You literally just walk right up and press the interact button. No axes or gathering tools required.
FAQ: Does the starting keepsake count toward the cap?
Yes, if you choose the seed as your starting gift during character creation, it counts as one of the 30 needed, giving you a very nice early head start.
FAQ: Why did my seed disappear after dying to a tree spirit?
If you die exactly as the boss dies, the item should automatically deposit into your inventory. If your bags were totally full, check your storage box at a resting site.
Wrapping all this up, knowing exactly where to go completely changes the dynamic of your playthrough. Stop struggling with minimal healing and start mapping out your route today. Grab your mount, hit those checkpoints, and start surviving longer!





Leave a Reply