
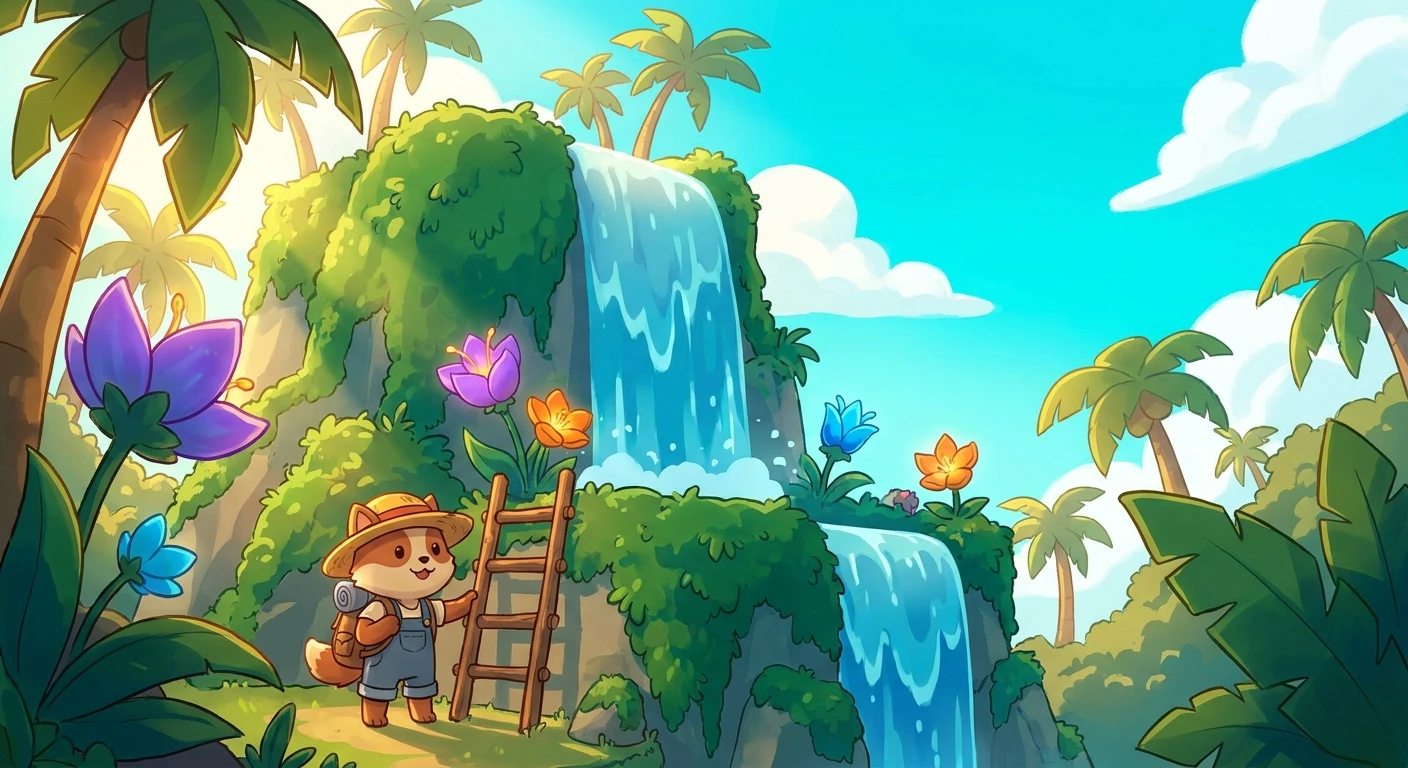
Understanding How to Climb in Animal Crossing: Your Ultimate Guide
Learning exactly how to climb in Animal Crossing is one of the most exciting early-game milestones you will experience upon arriving at your deserted island getaway. When you first step off the seaplane and follow Timmy and Tommy to the town plaza, your exploration is severely limited by both rushing rivers and sheer cliff faces. Gaining vertical mobility transforms a flat, restricted map into a multi-tiered canvas for creativity, resource gathering, and community building. Before unlocking the right tools, the upper cliffs remain frustratingly out of reach, heavily restricting your access to certain seasonal bugs, rare fish, and valuable crafting materials.
Mastering this verticality changes the entire pacing of your gameplay. The initial limitation is a deliberate design choice by Nintendo to pace your progression and make the reward of vertical exploration feel genuinely earned. Once you scale your first cliff, the total usable acreage of your island expands significantly. You gain the ability to harvest wild hybrid flowers, harvest different tiers of fruit trees, and eventually map out where you want to place permanent staircases. Escaping the ground level is your first real step toward total island domination, shifting your role from a simple camper to a true island designer.
Read also: Ultimate Guide to Animal Crossing Flowers; Ultimate Guide: What to Do in Animal Crossing Today.
Gaining altitude is not just an aesthetic upgrade; it provides distinct strategic advantages that accelerate your island’s economic and infrastructural growth. The upper tiers of your island hold secrets that simply do not spawn at sea level. The true value of reaching these upper echelons lies in the unique spawn tables for local wildlife.
Here are two major examples of the value proposition climbing offers:
Example 1: Catching Cliff-Top Exclusive Fish. Certain highly valuable fish, such as the Golden Trout, the Cherry Salmon, and the legendary Stringfish, are hard-coded to only spawn in rivers that flow on the second or third tier of your island. Without the ability to scale cliffs, completing your museum’s aquatic wing is mathematically impossible.
Example 2: Harvesting Rare Flora. When you first arrive, your native flowers on the base level are standard colors. However, the inaccessible cliffs often hide naturally bred hybrid flowers or secondary flower species. Plucking these early gives you a massive head start on cross-breeding projects.
To safely navigate these heights, you must rely on specific tools and eventual permanent structures.
| Elevation Tier | Required Equipment | Primary Resource Discoveries |
|---|---|---|
| Ground Level | Vaulting Pole (for rivers) | Sea fish, standard hardwood, basic weeds, native fruit |
| Second Tier | Ladder or Permanent Incline | Cliff-top river fish, cedar trees, secondary flower breeds |
| Third Tier | Ladder, Incline, or Vine | Rare insects, distinct fossil spawns, panoramic design views |
Acquiring the tool to conquer these cliffs requires completing a specific sequence of logistical tasks for Tom Nook. Follow this exact workflow to trigger the recipe delivery:
- Expand the Local Economy: You must gather materials (30 wood, 30 softwood, 30 hardwood, and 30 iron nuggets) to upgrade the Resident Services tent’s shop into a fully built Nook’s Cranny storefront.
- Establish Island Infrastructure: Speak to Tom Nook after the shop opens to receive a bridge construction kit. Place this bridge to connect your main landmass to an area across a river.
- Prepare for New Residents: Once the bridge is placed, Nook will give you three housing plots to place around the island. Because he requires you to craft furniture utilizing flowers that only grow on cliffs, he will instantly transmit the ladder recipe directly to your NookPhone.
Origins of Vertical Navigation
The concept of verticality has shifted dramatically throughout the history of the franchise. In the original Animal Forest (and its GameCube localization), towns were divided into specific acre grids. While the town did feature distinct upper and lower elevations, manual climbing did not exist. Instead, players navigated between tiers using wide, pre-generated earthen ramps. You could not choose where these ramps were located, forcing players to memorize the natural layout of their specific town to optimize fishing and fossil-hunting routes.
Evolution Across the Franchise
As the series transitioned to handheld consoles, the topography changed. Animal Crossing: Wild World introduced a cylindrical, rolling-log world effect that completely eliminated tiered towns. Everything existed on a single, continuous flat plane to accommodate the hardware limitations of the Nintendo DS. Animal Crossing: City Folk brought back the tiered cliffs and permanent ramps from the GameCube era. Later, Animal Crossing: New Leaf maintained a mostly flat town layout but introduced a steep cliff face leading down to the ocean beaches, introducing a separate form of vertical traversal via walking down localized ramps to reach the sand.
Modern State of Island Topography
Animal Crossing: New Horizons completely revolutionized environmental interaction. For the first time in the franchise’s history, the terrain was no longer a static, permanent limitation. The introduction of the ladder changed the core gameplay loop by allowing manual scaling of vertical faces at any valid point. Furthermore, the eventual unlocking of the Island Designer app means that players are not just climbing pre-generated cliffs; they are actively constructing, demolishing, and shaping the very mountains they scale, giving unprecedented control over the village’s geographical footprint.
The Mechanics of the Voxel Grid System
Behind the cute, pastoral aesthetic of your island lies a rigid, highly mathematical grid system. The game engine operates on a three-dimensional coordinate map similar to voxels, where every single square unit of land possesses X, Y, and Z values. The Z-axis determines elevation. When you initiate a climb, the game engine runs a rapid collision detection check on the adjacent tile. It verifies if the tile directly in front of the player has a Z-axis value exactly one unit higher than the player’s current standing position, and checks if the destination tile is free of solid objects, buried items, or custom design paths that interfere with the animation.
Procedural Generation and Elevation Variables
The procedural generation algorithm used when you first select your island map ensures that every layout features exactly three distinct, traversable tiers. While the game technically renders a fourth tier, the collision variables are hard-coded to reject the ladder deployment animation. The technical parameters governing your vertical movement rely on strict boundaries.
- Elevation Limits: The engine supports up to four levels of height, but a soft-lock prevents the player character from clipping onto the fourth tier, issuing a safety warning dialogue instead.
- Deployment Hitboxes: A successful climb requires a fully unobstructed 1×1 tile space at the base and a corresponding unobstructed 1×1 tile at the top. If a weed, fossil, or furniture item occupies the destination edge, the animation is canceled.
- Animation Frames: The physical act of scaling the wall takes exactly 1.5 seconds, during which all menu inputs, inventory management, and tool-swapping commands are temporarily locked by the engine.
- Infinite Durability: Unlike flimsy axes or fishing rods that track an internal usage integer before breaking, the standard wooden ladder bypasses the durability system entirely, acting as a permanent mechanical upgrade.
Day 1: Establishing the Base Camp
Your first day on the island is strictly confined to the lowest elevation. Focus your efforts on gathering basic resources, shaking trees for branches, and catching accessible fish and bugs. Complete Tom Nook’s DIY orientation workshop and pay off your initial moving fees using Nook Mileage points, which sets the foundation for expanding your logistical capabilities.
Day 2: Paying the Moving Fees
Once you switch your debt from Nook Miles to Bells, your primary objective is upgrading your tent to a solid house. Continue hoarding every single piece of wood, hardwood, softwood, and iron nugget you find. Do not sell these base materials to Timmy and Tommy; you will need them in bulk to trigger the economic expansion required for your climbing gear.
Day 3: Opening Nook’s Cranny
Speak to Timmy in the Resident Services tent. He will request 30 pieces of each wood type and 30 iron nuggets to build a dedicated shop. Sourcing the iron is the biggest bottleneck; use Nook Miles Tickets to fly to mystery islands if your native rocks run dry. Deliver the materials to select a plot for Nook’s Cranny.
Day 4: Building the First Bridge
With Nook’s Cranny open for business, Tom Nook will receive a phone call during his morning announcements regarding new residents wanting to move in. Go speak to him at Resident Services. He will declare that the island is too difficult to navigate and hand you a bridge construction kit. Place this over any river to connect your starting zone to the wider ground-level map.
Day 5: Claiming the Housing Plots
Return to Tom Nook after placing the bridge. He will give you three housing kits and ask you to designate residential zones. Pick three distinct spots on your expanded map. Once the plots are placed, interact with the boxes in front of them to review the interior and exterior furniture requirements needed to prepare the homes for the incoming villagers.
Day 6: Crafting the First Ladder
Reviewing the furniture requirements reveals that several recipes mandate native flowers that only spawn on your island’s cliffs. Recognizing this geographical impossibility, Tom Nook will call your NookPhone and transmit the recipe for the ladder directly to your DIY app. Head to any workbench with 4 wood, 4 hardwood, and 4 softwood to craft your key to the upper tiers.
Day 7: Terraforming and Permanent Inclines
While the ladder is excellent for manual exploration, eventually you will want passive vertical infrastructure. Speak to Tom Nook about island infrastructure to purchase permanent staircases and inclines. Later, after achieving a three-star island rating and hosting K.K. Slider, you will unlock the Island Designer app, allowing you to manually build and destroy the very cliffs you previously had to climb.
Myths & Reality
Myth: You can climb to the absolute peak of the fourth tier if you find the right angle.
Reality: The game’s engine actively prevents this. If you attempt to deploy your tool against a fourth-tier cliff, a text box will appear stating that it is too dangerous to climb any higher. The fourth tier is strictly reserved for decorative items and waterfalls.
Myth: Ladders possess a hidden durability stat and will eventually shatter after extended use.
Reality: The standard ladder, much like the vaulting pole, is immune to the game’s durability mechanics. It will never break, no matter how many times you scale your island’s geography.
Myth: Villagers can use the ladders you leave lying around the island.
Reality: Villager AI lacks the pathfinding logic to interact with deployed tools. If they appear on a cliff, the engine simply teleported them there while you were out of sight. They only walk naturally up permanent inclines.
Myth: You have to spend precious Nook Miles to buy the recipe from the terminal.
Reality: The initial recipe is provided completely free of charge by Tom Nook as a mandatory storyline progression step. Secondary variations are purchased later.
FAQ
Can I climb without a ladder?
Manual climbing requires the tool. However, you can traverse vertical spaces freely by building permanent inclines through the Resident Services construction counter or by placing vines on cliff walls.
How do I get vines?
Vines are naturally found on specific Kapp’n boat tour islands or on the Happy Home Paradise archipelago. You can harvest them and stick them to your own cliffs for a permanent, climbable surface.
What is the highest level I can reach?
You can walk on the ground level, the second tier, and the third tier. The fourth tier can be terraformed, but it cannot be stood upon by the player character.
Can I place houses on the third tier?
Yes. As long as you have enough space (a 4×3 grid) and ensure the house is not too close to the cliff edge, you can establish neighborhoods at the highest playable elevation.
Do I need a ladder for the DLC?
The Happy Home Paradise archipelago comes pre-equipped with naturally growing vines on the cliff walls, meaning you do not strictly need your personal tools to explore the vacation islands.
Can visitors use ladders?
Yes. Friends visiting your town via local or online multiplayer can equip their own tools to explore your upper levels, provided you have not fenced off the areas.
How do I put away the ladder?
Press the down button on your left Joy-Con’s directional pad to instantly unequip the tool, or cycle through your pockets to free up your hands.
Conquering the vertical limits of your island opens up endless possibilities for custom landscaping, rare bug hunting, and neighborhood design. Now that you have the knowledge to acquire the right tools and understand the game’s topographical rules, grab your crafting materials, head to a workbench, and start reshaping your skyline today!





Leave a Reply