
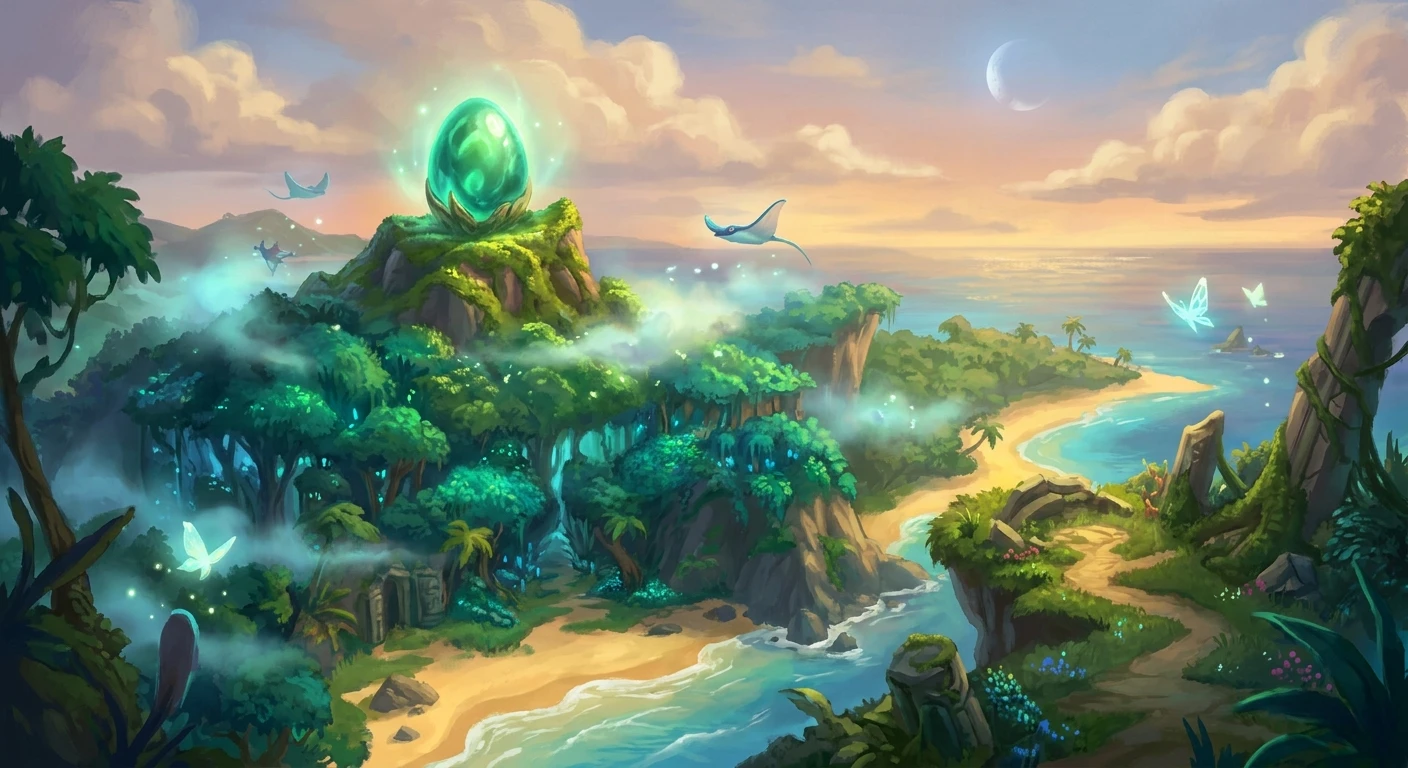
Ultimate Link’s Awakening Walkthrough
Starting a new file on Koholint Island is pure magic, and having a reliable link’s awakening walkthrough right by your side makes the entire journey completely stress-free. Navigating the mysterious Wind Fish’s egg, completing the massive island-wide trading sequence, and surviving those complex, brain-teasing dungeon puzzles requires a highly detailed roadmap so you do not end up wandering aimlessly around Mabe Village for hours. I want to share something deeply personal about this. Back in Kyiv, during the heavy winter power outages a few years ago, I played this absolute masterpiece entirely in handheld mode under the dim light of a single battery-powered camping lamp. The cozy, vibrant glow of the console screen became my perfect evening escape while the city was dark and silent outside. It strongly reminded me just how essential a solid, foolproof game guide really is when your battery percentage is draining fast and you simply cannot afford to be stuck hopelessly on the Tail Cave boss. Since those cold nights, I have obsessively mapped out every single screen, every hidden seashell, and every secret cave of this beautiful island. Let me save you dozens of hours of unnecessary backtracking and frustration. Grab your shield, grab your sword, and let us get this amazing adventure rolling together right now.
Look, guys, if you want to truly master this island, you need a plan. Trying to brute-force the game without understanding the overarching mechanics is a massive headache. A huge benefit of following a structured path is achieving absolute hundred percent completion. We are talking about finding all the hidden Secret Seashells to unlock the ultimate sword upgrade, and gathering every single Piece of Heart to maximize your health bar for the final boss fight. Without a proper strategy, you will miss these crucial upgrades, and the late-game enemies will punish you for it.
Let me give you a couple of real-world examples to show you what I mean. Think about the Yoshi Doll mini-game. You might think it is just a fun little distraction in the village arcade, but it is actually the mandatory first step of the massive, game-spanning trading sequence. Or consider the Slime Key—finding it requires you to navigate a specific pattern of screens in the Ukuku Prairie that is extremely easy to mess up if you do not know the exact optimal route.
Here is a quick breakdown of some major roadblocks you will definitely face on your journey:
| Location | Key Item Needed | Challenge Level |
|---|---|---|
| Tail Cave | Roc’s Feather | Beginner Friendly |
| Key Cavern | Pegasus Boots | Moderate Puzzle |
| Eagle’s Tower | Mirror Shield | Extremely Hard |
| Turtle Rock | Magic Rod | Ultimate Test |
Before you even step foot into a new labyrinth, you absolutely need to follow these exact preparation steps:
- Stock up on Magic Powder: You never know when you will need to light torches, burn away obstacles, or stun an annoying enemy bouncing around the room.
- Buy the Shovel early: Do not wait. Digging up patches of dirt will yield tons of secret rupees and hidden items that make early-game progression a total breeze.
- Keep a fairy in a bottle: Once you unlock the bottles, catching a fairy is your ultimate insurance policy against a cheap game-over screen during a tough mini-boss fight. It will automatically revive you when your hearts hit zero.
Origins of Koholint Island
Believe it or not, this wildly popular adventure originally started as an informal after-hours passion project. The developers at the studio were essentially just playing around with new development kits, trying to see if they could successfully port a massive console-style RPG onto a tiny, monochrome handheld system. They worked late into the night, experimenting with code just for fun. What started as an unofficial experiment quickly morphed into one of the most beloved and charming standalone stories in the entire franchise history. The creative directors leaned heavily into a surreal, dream-like atmosphere, drawing heavy inspiration from weird television shows of the era rather than sticking strictly to traditional high-fantasy tropes.
Evolution of the Adventure
Over the decades, the software code evolved dramatically. We went from the original green-tinted dot matrix graphics to a fantastic full-color upgrade a few years later, which introduced the famously optional Color Dungeon. Then came the glorious modern hardware generation, bringing us a complete from-the-ground-up visual overhaul. The claymation-style graphics, the tilt-shift camera perspective, and the fully orchestrated soundtrack completely revitalized the experience. It maintained the exact same grid-based map layout of the original but wrapped it in a beautifully shiny, modern aesthetic that massively appealed to both old-school veterans and completely new players jumping in for the first time.
The Modern State of Speedrunning
Now that we are solidly in 2026, the global community around this specific title has grown to unbelievable proportions. Dedicated speedrunners have completely dismantled and mastered the game engine. People are utilizing pixel-perfect movement strategies, manipulating enemy spawn cycles, and executing flawless sequence breaks that allow them to skip entire halves of the map. Watching a modern 2026 tournament run is honestly like watching a highly choreographed digital dance. Even if you are just playing casually at home on your couch, learning a few of these wildly optimized routing tricks can seriously speed up your casual weekend playthrough and make you feel like an absolute gaming professional.
Grid-Based Memory Allocation
Let us talk tech for a second, because the underlying software engineering behind this title is honestly fascinating. The original version relied entirely on an ingenious memory management trick known as single-screen grid allocation. Because the handheld hardware had highly restrictive RAM capacities, the developers simply could not load the entire overworld map into memory all at once. Instead, the island map is mathematically divided into a giant, invisible checkerboard. When your character physically touches the edge of the screen, the system immediately unloads all the asset data from the previous screen and seamlessly loads the graphical data for the new one. This exact mathematical layout was perfectly preserved in the modern remake, which is exactly why the screen transitions still feel remarkably compartmentalized despite the incredibly powerful modern hardware rendering it all flawlessly.
Hitbox Mechanics and Enemy AI
Combat might feel relatively simple on the surface, but the underlying collision detection algorithms are actually running highly complex geometry checks every single frame. When you press the button to swing your sword, the game generates a temporary invisible geometry box—commonly known as a hitbox—directly in front of your character model. If the coordinate math of an enemy’s hurtbox happens to overlap with your hitbox, the system registers a successful strike, calculates the appropriate knockback vector, and immediately applies damage points.
Here are some deeply technical facts about how the core logic operates under the hood:
- Frame Execution: The internal logic engine operates at a highly stable locked frame rate, meaning movement physics and enemy patrol paths are completely deterministic and perfectly predictable.
- Entity Limits: The operating system imposes a strict limit on the total number of active animated sprites allowed on a single screen to actively prevent memory overflow and annoying visual slowdowns.
- Z-Axis Simulation: Although playing from a traditional top-down perspective, the engine includes a simulated mathematical Z-axis to accurately handle jumping physics when using the feather item.
- RNG Seed Generation: The random item drops you get from cutting grass or breaking pots are determined by an internal counter that cycles rapidly based on your hardware’s internal clock cycles.
Step 1: The Sword on the Beach
Your very first task is to head straight south from Mabe Village down to the sandy shores of Toronbo Beach. Push past the spiky sea enemies using your starting shield until you find your washed-up sword sitting in the surf. This officially kicks off your massive journey.
Step 2: Tail Cave Mastery
Head slightly east to find the entrance to the Tail Cave. This introductory labyrinth perfectly teaches you the fundamental basics of finding small keys, reading the helpful owl statues, and using the Roc’s Feather to jump over massive bottomless pits safely.
Step 3: Rescuing BowWow
Right before entering the second dungeon, a nasty moblin gang will kidnap the village’s beloved pet chain-chomp. Trek over to the Moblin Hideout located deep in the mysterious forest, clear out the enemies room by room, and rescue the pup. He will literally eat the giant swamp flowers blocking your access to the next area.
Step 4: Bottle Grotto Tactics
With your new ferocious pet clearing the way, enter the damp and dark Bottle Grotto. Inside here, you will uncover the magical Power Bracelet, instantly allowing you to lift heavy ceramic pots and giant rocks. The final boss here requires you to grab his own weapon and throw it right back at his face.
Step 5: The Trading Sequence
Take a much-needed break from the dungeon action to focus heavily on the island’s unique micro-economy. Trade the Yoshi Doll all the way up to the Pineapple, then eventually trade your way to the Magnifying Lens. This continuous background task is strictly mandatory for reading the secret book hidden in the village library later on.
Step 6: Angler’s Tunnel Dive
Make your long way up the map to the rocky Tal Tal Mountain Range. You will absolutely need the Flippers to navigate the deep water sections here. This specific area severely tests your spatial awareness, asking you to perfectly remember flooded pathways and locate hidden underwater switches.
Step 7: Waking the Wind Fish
After carefully gathering all eight magical musical instruments from the various dungeons, head straight up to the giant speckled egg sitting on top of the central mountain peak. Play the beautiful ballad, enter the egg, and skillfully navigate the infinite maze using the exact directional puzzle solution you finally decoded in the library.
Myth: You can totally skip the long, boring trading sequence and still beat the game.
Reality: Absolutely not. You technically need the final item in the massive trading sequence, the Magnifying Lens, to see the invisible enemies and successfully read the final directional path required to navigate the Wind Fish’s egg at the very end of the game.
Myth: The secret Color Dungeon is mandatory to beat the main story campaign.
Reality: It is completely optional. However, finishing it grants you the amazing ability to choose between a red tunic for double attack power or a blue tunic for double defense, which makes the punishing endgame vastly easier to survive.
Myth: You can easily steal items from the village shop without any real consequences.
Reality: While you can technically sneak out without paying by running quickly around the shopkeeper, doing so will permanently change your character’s name to “THIEF” for the entire rest of the save file. Plus, the shopkeeper will mercilessly fire a lethal laser at you if you ever dare to re-enter the store.
How do I get the Pegasus Boots?
You will find them hidden securely inside the Key Cavern, which is the third major labyrinth in the game. You absolutely need them to dash right through the green crystal blocks and defeat the charging boss.
Where is the secret Color Dungeon?
It is hidden right behind the old gravestones in the main cemetery. You have to push the stones in a very specific, secret order dictated by a hidden book located inside the village library.
Can I farm rupees easily?
Yes, the absolute best early method is playing the Trendy Game in Mabe Village repeatedly, or completing the rapid rapids river ride mini-game later on to quickly max out your wallet.
How many secret seashells are there?
There are exactly 50 hidden scattered across the entire map. You only really need to collect 40 to get the ultimate sword upgrade, but collecting all 50 gives you a neat little completionist bonus.
What happens if I die?
You will instantly respawn at the entrance of the current area or dungeon. However, finishing the entire game with absolutely zero deaths unlocks a secret, slightly different ending cinematic sequence.
How do I beat the Eagle’s Tower?
You have to use the heavy iron ball found inside the dungeon to repeatedly smash the four massive structural pillars. This action literally collapses the entire top floor of the building, granting access to the boss.
Is the Boomerang worth it?
One hundred percent yes. It is arguably the most overpowered weapon available in your arsenal, uniquely capable of stunning or completely destroying almost anything instantly.
So there you have it, folks. I sincerely hope this comprehensive, step-by-step breakdown makes your island adventure significantly more enjoyable and completely stress-free. Drop a quick comment below if you get stuck on any puzzles and I will help you out!





Leave a Reply