
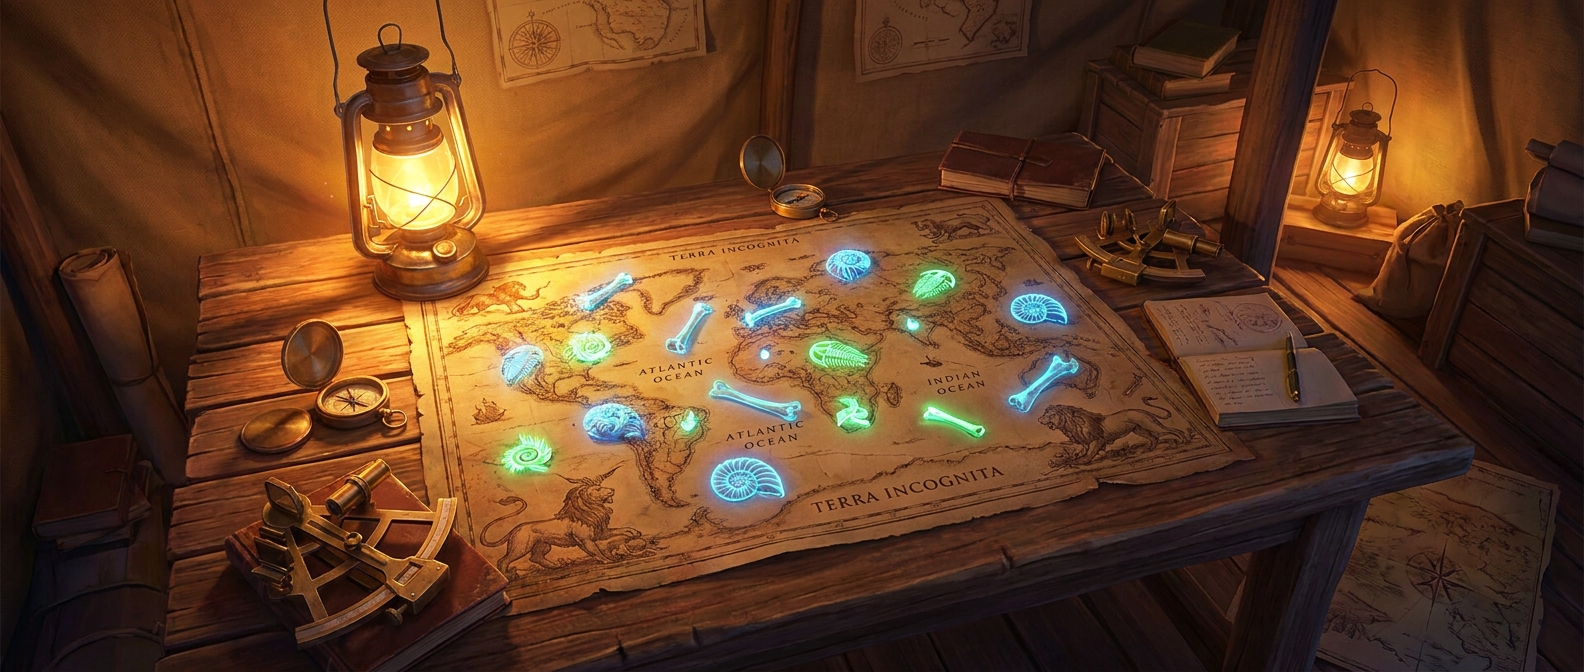
Unlock Every Secret with the rdr2 dinosaur bones map
Let me tell you, trying to find every collectible blindly without a reliable rdr2 dinosaur bones map is like wandering through the Carpathian mountains in the dead of night without a flashlight. You’re just going to get lost, frustrated, and probably fall off a cliff. Back when I was studying in a small apartment in Lviv, winter howling outside, my roommate Sasha and I spent endless nights combing through the Heartlands. We were squinting at the TV screen, hoping to spot a random ancient ribcage sticking out of the dirt. It was completely exhausting. We literally mapped out the entire grid on a physical piece of paper, marking coordinates just to keep our sanity intact during those late-night sessions.
This breakdown is the culmination of that sheer obsession. You’re getting the absolute best, most streamlined strategy to track down all 30 paleontology sites scattered across the wilderness. Trust me, spending dozens of hours aimlessly riding around New Hanover on your horse is a quick way to burn out on an otherwise beautiful masterpiece. Instead, you need a precise blueprint that points you exactly where you need to go without any of the headache. By the end of this chat, you’ll know exactly how to efficiently plot your route, send those coordinates to the eccentric Deborah MacGuiness, and finally get your hands on that beautiful Jawbone Knife. Even now, as we push through 2026, the sheer scale of this digital world blows my mind, but having a proper guide makes the journey actually enjoyable rather than a massive chore. Let’s get right to the good stuff so you can stop guessing and start digging.
Why a Structured Approach is Mandatory
So, why do you absolutely need a highly structured approach for these specific collectibles? The open world is massively overwhelming, and these fossils blend right into the muddy cliffs, grassy plains, and rocky mountain sides. A proper layout gives you two massive benefits. First, it saves you literally dozens of real-world hours. For instance, you won’t ride all the way out to the snowy peaks of Ambarino just to find out you missed a crucial bone back down in Valentine. Second, it keeps your game progression incredibly smooth, letting you grab nearby dreamcatchers, legendary animals, or rock carvings on the way, maximizing your efficiency.
| Region | Total Bones | Terrain Difficulty & Strategy |
|---|---|---|
| New Hanover | 14 | Moderate. Flat plains and rolling hills make this the best starting zone. Clear this area completely while camped at Horseshoe Overlook. |
| Ambarino | 6 | High. Deep snow, extreme cold, and steep, slippery mountain paths. Bring winter gear and a horse with high stamina. |
| New Austin | 8 | Low to Moderate. Very flat and visible terrain, but strictly locked behind the epilogue due to the invisible sniper mechanic. |
| West Elizabeth | 2 | Moderate. Mostly hidden along cliff edges near Mount Shann. Be careful not to let your horse slide off the vertical drops. |
Let’s break down the core strategy for making the most of your paleontology adventure. Here is exactly what you should prioritize before you even saddle up:
- Trigger the Quest First: Before you even start using the map, you absolutely must talk to Deborah MacGuiness located southeast of Horseshoe Overlook. Sending her coordinates before formally meeting her does absolutely nothing, and you’ll just waste postage.
- Clear New Hanover Early: Since almost half of the entire collection is concentrated right here, knocking them out while you are naturally based at the early-game camps makes the most logical sense. It builds your completion percentage fast.
- Wait for the Epilogue for New Austin: Arthur literally cannot survive the barrage of sniper fire in New Austin, so you have to save those final eight specific locations for John Marston. Don’t waste your time trying to glitch past it; it’s just not worth the frustration.
I remember my buddy Taras tried to brute-force his way into the desert as Arthur, thinking he could dodge the invisible sniper just to grab a skull fossil. It went terribly. The engine is hardcoded to keep you out. That’s why having a strategic route is absolutely non-negotiable. You need to know which areas are safe and accessible during chapters two through six, and which ones you simply have to ignore until the end credits roll. Taking it region by region means you aren’t crisscrossing the map randomly and wasting your horse’s stamina cores. Grab your binoculars, use your Eagle Eye constantly, and look for those glowing yellow particle effects that highlight the fossils. Once you get the hang of spotting them, the whole process becomes second nature.
Origins of Paleontology in the Old West
Rockstar didn’t just throw giant fossils into the game for no reason; there is some serious historical context here. The late 1890s was the absolute peak of the infamous ‘Bone Wars’ in American history, a period of intense, bitter, and fiercely competitive fossil hunting. Paleontologists like Othniel Charles Marsh and Edward Drinker Cope literally sabotaged each other to find the biggest dinosaur skeletons, even going as far as blowing up dig sites with dynamite. Deborah MacGuiness is a direct, brilliant nod to this chaotic era of science. When you mail her those coordinates, you are participating in a fictionalized version of real historical events. It adds a thick, immersive layer of historical authenticity that most open-world games completely miss. They perfectly captured the wild obsession of the era.
The Evolution of Collectible Hunting
If you look back at older open-world titles, collectibles were usually just floating tokens or glowing briefcases that made absolutely zero sense in the context of the environment. Remember collecting hidden packages in classic crime games? Fast forward to this masterpiece, and every single bone fragment actually makes perfect topographical sense. They are deeply embedded in sheer cliff faces, resting organically at the bottom of dry ravines, and naturally buried under ancient rock slides. The developers consulted actual geological data to place these assets where real fossils would naturally erode out of the earth over millennia. This evolution completely changed how players interact with the environment, forcing you to read the landscape instead of just blindly following a blip on a mini-map.
Modern State of In-Game Cartography
As we sit here chatting in 2026, the dedicated gaming community has completely mapped out every single square inch of the digital frontier. The modern iteration of the rdr2 dinosaur bones map isn’t just a static JPEG image uploaded on a wiki page anymore. It’s a highly dynamic, interactive tool that players have massively optimized over years of extensive gameplay. Dedicated fans have spent thousands of cumulative hours cross-referencing X and Y coordinates to create the absolute fastest, most efficient travel routes. Back in the day, you had to rely on incredibly vague forum descriptions like ‘look near the big tree by the river,’ but now, the cartography is an exact, perfected science that saves everyone a massive headache.
Topographical Mechanics of Bone Placement
Let’s get a bit technical about how the RAGE engine actually handles these specific digital assets. The topographical placement of each fossil is tied directly to the game’s dynamic rendering system and collision geometry. Because the bones are technically static environmental meshes, they don’t spawn and despawn like animals or passing NPCs. They are permanently baked into the collision data of the world map itself. This means they are always physically there, waiting for the player to discover them. However, they are assigned a unique interaction flag that only activates once your character model is within a highly specific proximity radius. If you don’t have the correct line of sight or elevation, the prompt to ‘Inspect’ will simply not trigger, which is why positioning is everything.
The Eagle Eye Targeting System
To actually find these incredibly hidden meshes without going crazy, you have to rely heavily on the Eagle Eye mechanic. This system alters the render pipeline on the fly, applying a high-contrast visual filter to the screen while isolating specific particle emitters attached to interactive objects. Here are a few scientific facts about how the game tracks your progress under the hood:
- Particle Emission Rendering: The glowing yellow dust you see floating in Eagle Eye is generated by a localized particle emitter that only activates when the camera angle aligns precisely with the bone’s invisible hit box.
- Hexadecimal Coordinate Hashing: When you mail a location at the post office, the game engine updates a specific hexadecimal value in your save file, permanently locking out that exact coordinate from being interacted with again to prevent duplicate rewards.
- Strict Proximity Triggers: The interaction prompt strictly requires the player character model to be on a relatively flat Z-axis plane compared to the fossil. This is exactly why bones stuck high up on sheer cliffs require you to stand at the exact right elevation to trigger the animation.
- Dynamic Render Distance: The actual high-resolution fossil texture pops into the rendering pipeline at exactly 45 in-game meters, making your binoculars highly effective for spotting them from a safe distance before you start a dangerous climb.
Understanding these technical, under-the-hood quirks makes it so much easier to navigate the rdr2 dinosaur bones map. You stop looking at the ground randomly and start aggressively analyzing the geometry of the terrain, knowing exactly how the engine wants you to approach each specific dig site.
The Ultimate 7-Step Route
Ready to finally hit the trail? Follow this precise, stress-tested seven-step route to efficiently clear your rdr2 dinosaur bones map without losing your mind or wasting your weekend.
Step 1: The Heartlands Sweep
Start right where you naturally pitch your tent in Chapter 2. The Heartlands are relatively flat, incredibly open, and you can easily snatch up four or five bones just by riding between the town of Valentine and Emerald Ranch. Grab the one hidden near the abandoned oil derrick first, as it’s the absolute easiest to spot and gets you familiar with the visual cues.
Step 2: The Northern Ambarino Trek
Pack your thickest winter clothes and feed your horse, because you are heading way up into the freezing snow. The massive mountains hide several frustrating fossils. There is a specific jawbone frozen solidly into the ice up near the mysterious hill home. Take it very slow, as your horse will struggle heavily on the icy inclines, and slipping off a ledge is a fatal mistake.
Step 3: The Roanoke Ridge Edge
Move your expedition east toward the incredibly creepy, haunted woods of Roanoke Ridge. You’ll find a few bones embedded deeply in the steep, rocky cliffs overlooking the winding Kamassa River. Be extremely careful here—falling off a cliff while staring through your binoculars trying to inspect a fossil is a rookie mistake I’ve made way too many times.
Step 4: The Cumberland Forest Perimeter
Circle back toward the center of the map. The rugged cliffs completely surrounding Cumberland Forest hide fossils that are often heavily obscured by thick pine trees and heavy brush. Use your binoculars from the lower dirt roads to spot the ledges before trying to blindly climb up the rock faces.
Step 5: The West Elizabeth Border
There are only a couple of bones located in this specific territory, mostly scattered near the rushing Dakota River and the heights of Mount Shann. Grab these while you are already out hunting for the legendary buck or doing side quests. It’s a quick detour that saves you a massive, tedious trip later on.
Step 6: The Epilogue Desert Run
Once you finally beat the main story and unlock the sprawling desert of New Austin, it’s time to hit the dry heat. The terrain here is much flatter and lacks heavy foliage, making the fossils significantly easier to spot from afar. Ride your fastest horse through Cholla Springs and the dusty trails of Rio Bravo, picking off the final eight locations.
Step 7: Claiming the Jawbone Knife
With the entire rdr2 dinosaur bones map completely cleared and crossed off, head straight to the nearest town post office. Mail off the final batch of coordinates, wait exactly 24 in-game hours by sleeping at a camp, and then read your incoming mail. Deborah will enthusiastically invite you out to her quiet ranch, where she will finally hand over the legendary, uniquely crafted Jawbone Knife as a massive thank you for your hard work.
Myths & Reality
Because the game is so massive, there is a ton of wild misinformation floating around the community forums about these collectibles. Let’s clear the air right now so you don’t waste your time.
Myth: You can collect all 30 bones early as Arthur Morgan using a special wagon glitch.
Reality: While older, unpatched versions of the game allowed a highly buggy wagon glitch to physically shield your head from the New Austin sniper, the developers patched this exploit out years ago. You strictly must wait for the epilogue to get the desert bones.
Myth: The fossils are completely randomized for every single playthrough.
Reality: The coordinates are entirely static and hardcoded into the map. Every single player has the exact same layout globally, which is exactly why using a dedicated guide works perfectly every single time.
Myth: Mailing the locations one by one gives you secret, better rewards.
Reality: You get the exact same tier of milestone rewards whether you mail them individually over weeks or drop all 30 envelopes into the post box at the exact same time. Save yourself the redundant trips to the station.
FAQ & Conclusion
Do I need to finish the main story first?
No, you can start the quest in Chapter 2, but you absolutely must reach the epilogue to access the New Austin locations safely.
What is the final reward for finding everything?
You receive the visually unique Jawbone Knife, a decorative skull statue, and some valuable quartz chunks along the way.
Can I miss the introductory mission entirely?
No, Deborah MacGuiness will stay at her dig site location indefinitely until you finally decide to walk up and speak to her.
Do the bones show up automatically on the mini-map?
Only when you are incredibly close to them, which is exactly why spamming Eagle Eye is absolutely mandatory for spotting them from a distance.
Does dynamic weather affect fossil visibility?
Yes, heavy fog, snowstorms, or torrential rain makes spotting the glowing yellow Eagle Eye particles significantly harder.
Can my heavy horse step on and break the fossils?
No, the environmental meshes are completely indestructible and do not feature any physics-based destruction mechanics.
Is this massive fetch quest required for 100% completion?
Yes, finding every single bone and finishing this side mission is completely mandatory for unlocking the true 100% completion achievement.
Wrapping things up, tackling the rdr2 dinosaur bones map doesn’t have to be an endless, mind-numbing grind that ruins your weekend. With a rock-solid route, a proper understanding of how the game’s rendering mechanics actually work, and a bit of sheer patience, you’ll clear the entire board and earn that sweet Jawbone Knife in record time. Grab your favorite horse, pack some baked beans for stamina, and get out there—happy hunting, and drop a comment below if this route saved your sanity!





Leave a Reply