
The Ultimate Choice: Stardew Valley Tiller or Rancher
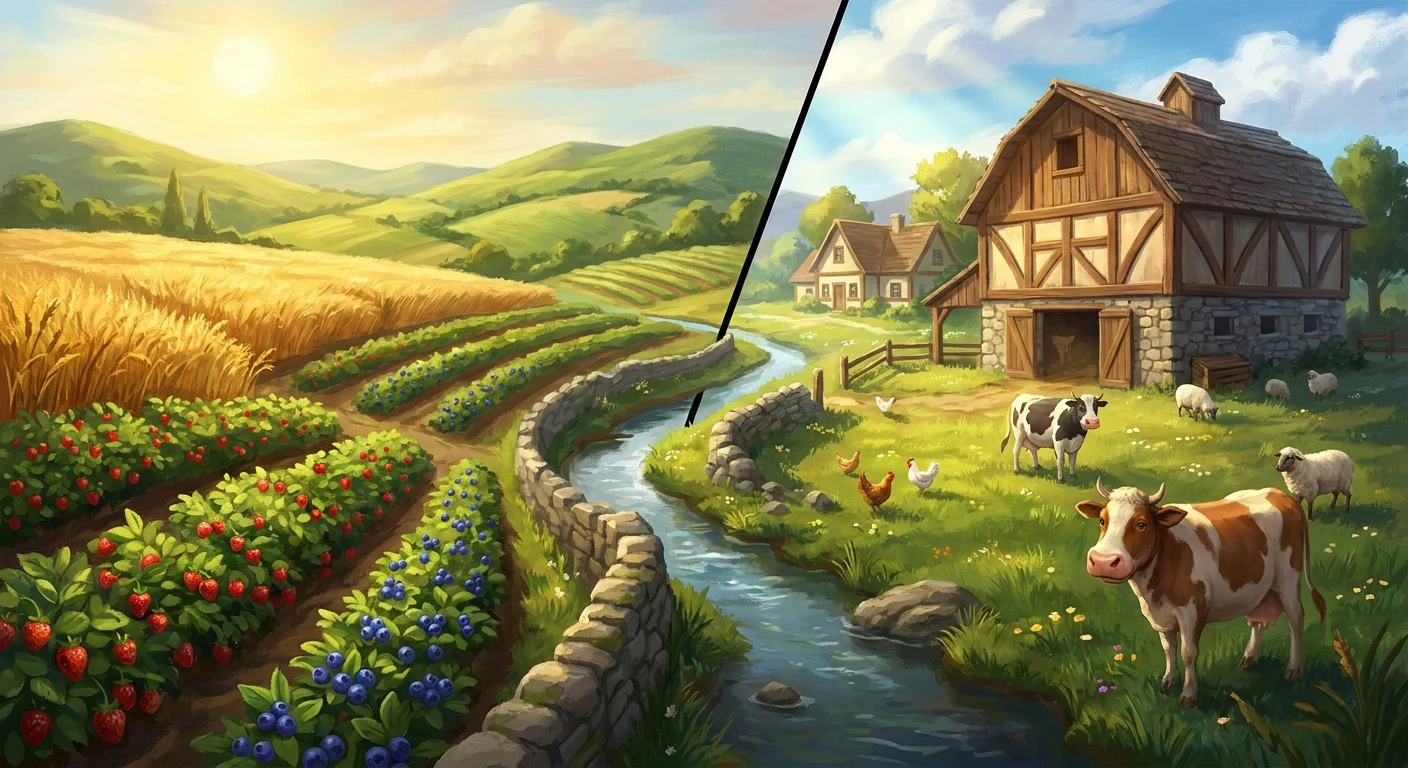
Deciding whether to become a Stardew Valley Tiller or Rancher is arguably one of the most defining economic moments you face upon reaching Farming Level 5. You finish a long day of watering parsnips, your character goes to sleep, and suddenly the screen presents you with a massive permanent choice. The thesis here is straightforward: the profession you select directly dictates your daily routine, your primary income streams, and how you interact with the entire Pelican Town agricultural ecosystem for the rest of your playthrough. While both branches ultimately lead to highly lucrative late-game empires, understanding the immediate and long-term consequences of this level 5 milestone prevents massive financial regret later on.
This choice essentially splits the game’s agrarian economy directly down the middle. The Tiller path focuses heavily on plant-based profit margins, boosting the sell price of all raw crops by a flat ten percent. Crucially, it sets you up for the powerhouse Artisan profession at level 10. Rancher, on the other hand, makes all animal products worth twenty percent more, leaning heavily into a livestock-centric daily grind. Both require completely different farm layouts, energy management strategies, and time investments. If you want to optimize your daily gold generation without burning out your farmer’s energy bar before noon, knowing exactly what each branch offers right out of the gate is absolutely essential for your farm’s survival.
Read also: Stardew Miner vs Geologist: Which Profession is Better?; Stardew Valley Miner or Geologist: Optimal Mining Path.
Core Benefits and Long-Term Value Propositions
Breaking down the core mechanics behind these two farming professions reveals massive differences in how you generate wealth. The primary value proposition of the Tiller path is passive, highly scalable income. Once seeds are in the ground and your sprinkler network is active, your actual physical involvement drops drastically. Conversely, Rancher demands consistent daily interaction—petting, milking, and shearing—but offers a steady, weather-independent cash flow that never takes a day off. For example, a massive field of summer blueberries yields incredible seasonal spikes in profit that fund entire farm upgrades in a single day. Meanwhile, a barn full of pigs constantly finding truffles generates massive daily gold regardless of the season, providing incredible financial stability.
| Profession Choice | Core Level 5 Benefit | Level 10 Unlock Highlight |
|---|---|---|
| Tiller | All raw crops sell for 10% more gold | Artisan (Processed goods worth 40% more) |
| Rancher | Animal products sell for 20% more gold | Shepherd/Coopmaster (Faster animal processing) |
| Hybrid Strategy | Swappable via the Sewers statue | Adapts dynamically to your farm evolution |
Let’s talk about specific use cases. If you plant one hundred Starfruit, the 10% Tiller boost on raw crops provides a decent immediate payout, but the true prize is funneling them into kegs later for the massive Artisan perk multiplier. If you choose Rancher, turning milk into gold star cheese gets an immediate financial bump, but you spend significantly more real-world time managing your barn animals every single in-game morning. You have to balance the manual labor against the sheer profit.
- Analyze your preferred daily routine: If you despise navigating through a flock of chickens to collect eggs and refill silos, you should lean heavily toward automated crops.
- Check your seasonal financial goals: Spring and Summer mechanics heavily favor massive crop yields, while Winter makes livestock shine because plants refuse to grow without a greenhouse.
- Factor in your processing patience: Determine if you prefer selling raw goods immediately for quick cash, or hoarding them for weeks inside kegs and preserve jars for a massive payday.
Origins of the Level 5 Skill Split
When the game first launched, the farming skill tree forced players into a hard, permanent commitment. The initial design philosophy was clearly meant to simulate real-world agricultural specialization. You were either someone who worked the soil or someone who tended to beasts of burden. The early mathematics of the game heavily favored processing crops over selling raw milk or eggs, leading to a massive community preference for the plant-based route. Early players quickly realized that a greenhouse full of ancient fruit mathematically outpaced almost every livestock setup available at the time, establishing a rigid meta that dominated community forums for years.
Evolution of Farm Economics
Over several major content patches, the underlying economic balance received massive overhauls. Animal products received incredible quality-of-life updates, like the auto-petter and the auto-grabber, which drastically reduced the manual labor required for livestock management. This shift made the animal-focused path significantly more viable for players who wanted consistent daily income without sacrificing half their day to farm chores. The addition of new artisan goods and specialized machinery also expanded how both paths interacted with processing equipment. Livestock was no longer just a hobby for the dedicated; it became a mathematically competitive way to fund endgame purchases like the Gold Clock.
Modern State of Farming Strategies
Today, the strategy around this choice is highly refined and highly adaptable. Most veteran players agree that the late-game economy revolves almost entirely around processed goods like ancient fruit wine and truffle oil, regardless of how you start. The introduction of the Statue of Uncertainty in the Sewers completely revolutionized how we approach this dilemma. You are no longer locked in forever. You can easily pivot from an early-game crop strategy to a late-game animal empire, or vice versa, for a small fee of 10,000 gold. This allows you to pick Tiller for the early cash grab, and swap to Rancher later if you decide to fill your map with barns.
The Mathematics of Profit Margins
Let’s look at the underlying game code and the exact profit multipliers. When you ship an item, the game calculates its base value, multiplies it by the quality modifier (Silver, Gold, Iridium), and then applies your profession multiplier. The Tiller profession adds a strict 1.1x multiplier to raw crops. It seems relatively small at a glance, but because crops scale exponentially—you can plant thousands of them on a standard farm layout—that ten percent compounds rapidly into tens of thousands of gold. The Rancher profession provides a heftier 1.2x multiplier to animal products, compensating for the hard cap on how many animals you can realistically house, feed, and manage on standard farm layouts without running out of grass.
Processing Speed and Time Ratios
Understanding the “Gold Per Day” metric is critical for maximizing your farm’s efficiency. Processing raw materials into high-value goods takes specific in-game minutes that you must account for.
- Raw crop scaling is theoretically infinite, limited only by your available farm tiles, scarecrow placement, and iridium sprinkler setup.
- Animal housing requires specific massive tile footprints for Barns and Coops, plus daily pathing algorithms to ensure animals can actually reach fresh grass outside.
- The Artisan profession, unlocked at Level 10 Tiller, applies a massive 1.4x multiplier to processed goods, which fundamentally outpaces almost all Rancher late-game setups mathematically.
- Friendship decay with animals negatively affects produce quality, requiring consistent hidden value management if you do not own a rare auto-petter from the Skull Cavern.
Step 1: Assess Your Current Capital
Look closely at your bank account before hitting level 5. Do you have the raw gold to build expensive coops and buy animals from Marnie, or is your money completely tied up in seasonal seeds? If you are broke, crops offer a cheaper entry point.
Step 2: Review Your Farm Layout
Check how much open space you have available. Forest farms and Riverland farms have significantly less arable land, making livestock highly attractive. Standard farms have massive open fields absolutely perfect for massive crop yields and giant sprinkler grids.
Step 3: Evaluate Your Resource Gathering
Do you have enough wood and stone stockpiled? Barns and coops require massive amounts of raw materials and multi-day build times from Robin. If you lack these basic resources, planting seeds requires only a hoe, a watering can, and some dirt.
Step 4: Plan for Winter Income
Winter totally kills standard outdoor crops. If you plan to rely entirely on plants, you absolutely need a restored greenhouse or a stockpile of winter seeds. Animals produce goods year-round, offering a massive financial safety net during the snowy months.
Step 5: Check Your Daily Energy Levels
Watering crops drains your farmer’s stamina incredibly fast before you unlock quality sprinklers. Petting animals and collecting eggs uses absolutely zero energy. Factor this into your early-game stamina management so you still have energy for the mines.
Step 6: Map Out Level 10 Goals
Always look ahead to the endgame. Do you want to be a billionaire wine baron utilizing the Artisan perk, or a truffle oil tycoon? Your ultimate level 10 goal heavily dictates which path you should logically choose at level 5.
Step 7: Make the Call and Pivot Later
Lock in your choice confidently and go back to sleep. Remember that once you unlock the Sewers, you can pay the dog statue to reset your professions entirely. Do not suffer from analysis paralysis; make the choice that helps you tomorrow morning.
Debunking Farming Economy Myths
Myth: Choosing Rancher permanently ruins your late-game economy and leaves you broke.
Reality: While the Artisan perk is mathematically superior for absolute maximum wealth, Rancher combined with a massive pig farm finding daily truffles generates millions of gold with far less inventory micromanagement and machinery maintenance.
Myth: You are permanently locked into your Level 5 choice forever.
Reality: The Statue of Uncertainty in the Sewers allows you to switch your professions for 10,000 gold at any time, meaning you can freely adapt as your farm layout changes over the years.
Myth: Tiller affects the sell price of foraged items you find in the woods.
Reality: Tiller strictly buffs cultivated crops grown on your farm. Foraged goods fall under the completely separate Foraging skill tree, and their price multipliers operate independently.
Myth: Rancher makes animals happier faster, reducing the time needed for large milk.
Reality: Rancher only increases the sell price of the raw products. Coopmaster and Shepherd at Level 10 are the specific professions that actively influence animal friendship and production speed mechanics.
Does Tiller boost Artisan goods directly?
No, the Level 5 Tiller buff only affects raw, unprocessed crops. You need the Level 10 Artisan profession to boost the value of processed goods like wine and jelly.
Can I choose both professions at the same time?
No, you must choose one single path per player character when you hit the level milestone.
Which choice makes more money in the early game?
Tiller generally scales much faster early on simply because buying seeds is drastically cheaper than constructing farm buildings and purchasing livestock.
Do fruit tree fruits count as crops for the bonus?
Yes, the Tiller profession explicitly increases the raw sell value of all fruit tree fruits harvested on your farm.
Does Rancher affect Truffle Oil prices?
No, Truffle Oil is strictly considered an Artisan Good, not a raw animal product, so it does not benefit from the Rancher multiplier.
Can Co-op multiplayer farmers pick different professions?
Yes, each individual farmer in a multiplayer session can select their own distinct skill paths, allowing for highly efficient team synergy.
Does the Tiller bonus apply to grown flowers?
Yes, flowers like Fairy Roses and Blue Jazz are categorized as crops and receive the full 10% price bump when shipped.
How do I unlock the statue to change my profession?
You must donate sixty items to Gunther at the Museum to receive the Rusty Key, which unlocks the Sewers where the statue resides.
Ultimately, deciding your path defines the exact rhythm of your virtual agrarian life. Whether you prefer the quiet, geometric satisfaction of harvesting massive fields of crops or the bustling, chaotic noise of a busy barn full of happy animals, both paths offer incredible financial rewards. Experiment with your layout, find your specific daily groove, and rest easy knowing that if you ever change your mind, the sewers await! Start mapping out your farm’s future today and watch your gold counter skyrocket.





Leave a Reply