
Cracking the Communication Hideout Arc Raiders
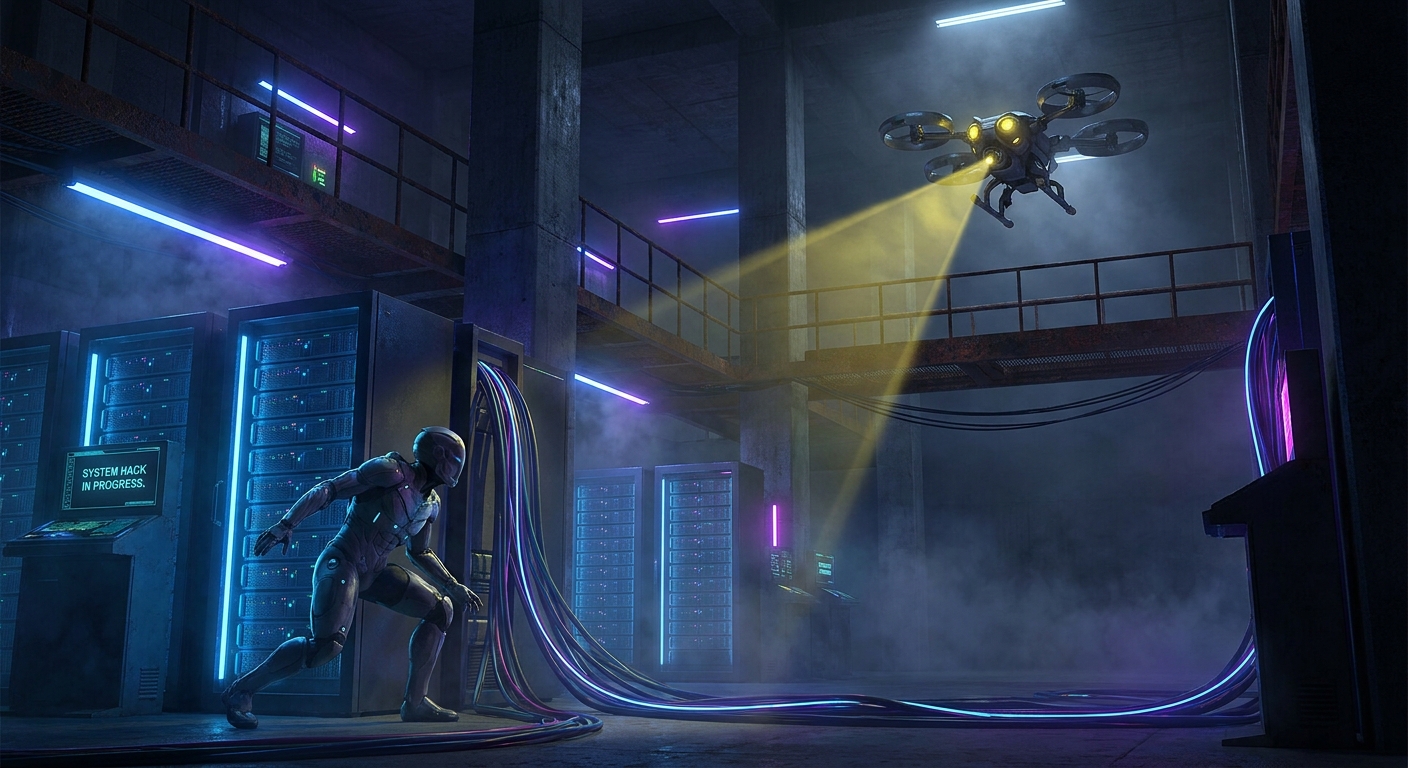
Look, if you are struggling to beat the communication hideout arc raiders mission right now, you are definitely not alone. I still remember sitting in my apartment in Kyiv, the city power grid flickering off yet again, leaving me with nothing but a UPS battery backup, the hum of my PC, and a burning desire to finally clear this brutal sector. My monitor literally went dark just as I was hitting the extraction point, which felt like the ultimate cosmic irony for a mission entirely focused on restoring lost signals. This specific location is an absolute beast that tests everything you know about stealth, positioning, environmental awareness, and timing. The core thesis here is simple: mastering this specific zone will fundamentally change how you approach the entire game, turning you from terrified prey into a highly calculated predator. Back when I first dropped into these Calabrian ruins, I thought brute force and a heavy trigger finger would work. Spoiler alert: it absolutely did not. The mechanized guardians will swarm you instantly. You need finesse, a sharp eye, and an exact route. I am going to walk you through exactly how I beat this area consistently, what gear works best, and how to outsmart the ruthless AI that guards the ultimate high-tier loot. Grab a coffee, because we are breaking down every single corner of this massive underground facility.
The Core Value: Why Risk the Danger?
Why do we even risk our hard-earned gear sneaking into this concrete nightmare? The value proposition of this specific drop zone is absolutely insane. First, it offers the highest concentration of rare tech scrap on the entire map. For example, if you desperately need optical lenses for your sniper scope or reinforced servos for your leg armor, this bunker is your primary gold mine. Second, it is the only reliable spawn point for the encrypted broadcast module, a quest item that unlocks endgame vendors. The risks are crazy, but the rewards make you incredibly wealthy in the local player economy. Let me lay out exactly what you are facing when you step foot inside the perimeter.
| Zone Area | Primary Danger | Loot Quality |
|---|---|---|
| Outer Perimeter | Sniper Drones & Spotters | Medium (Basic Tech Scrap) |
| Server Room | Heavy Mechs & Laser Grids | High (Weapon Blueprints) |
| Extraction Pad | Swarm Units & Alarms | Critical (Encrypted Drives) |
Surviving the interior means completely abandoning the run-and-gun mentality. Stealth is your primary currency. When you approach the facility, keep your visual profile incredibly low. I always follow a strict three-step protocol before I even think about touching the heavy vault door.
- Scan the horizon for perimeter patrols and manually tag every moving shadow with your binoculars.
- Disable the primary alarm grid using a perfectly timed, silenced EMP charge.
- Secure the mainframe data while keeping an immediate, clear escape route behind you.
The sheer amount of verticality in this level design gives you plenty of brilliant hiding spots. Use the rusted scaffolding, slide behind the massive overheating server racks, and always listen for the mechanical whirring of the Arc units. Your spatial awareness needs to be dialed to maximum because the moment a digital camera spots you, the entire mechanized hive descends on your exact coordinates. I cannot stress enough how much patience pays off here. You might sit in a single dirty ventilation shaft for five minutes just waiting for a heavy mech to pass by, but that patience ensures you walk out with your backpack completely full instead of leaving your best loot on the cold concrete floor.
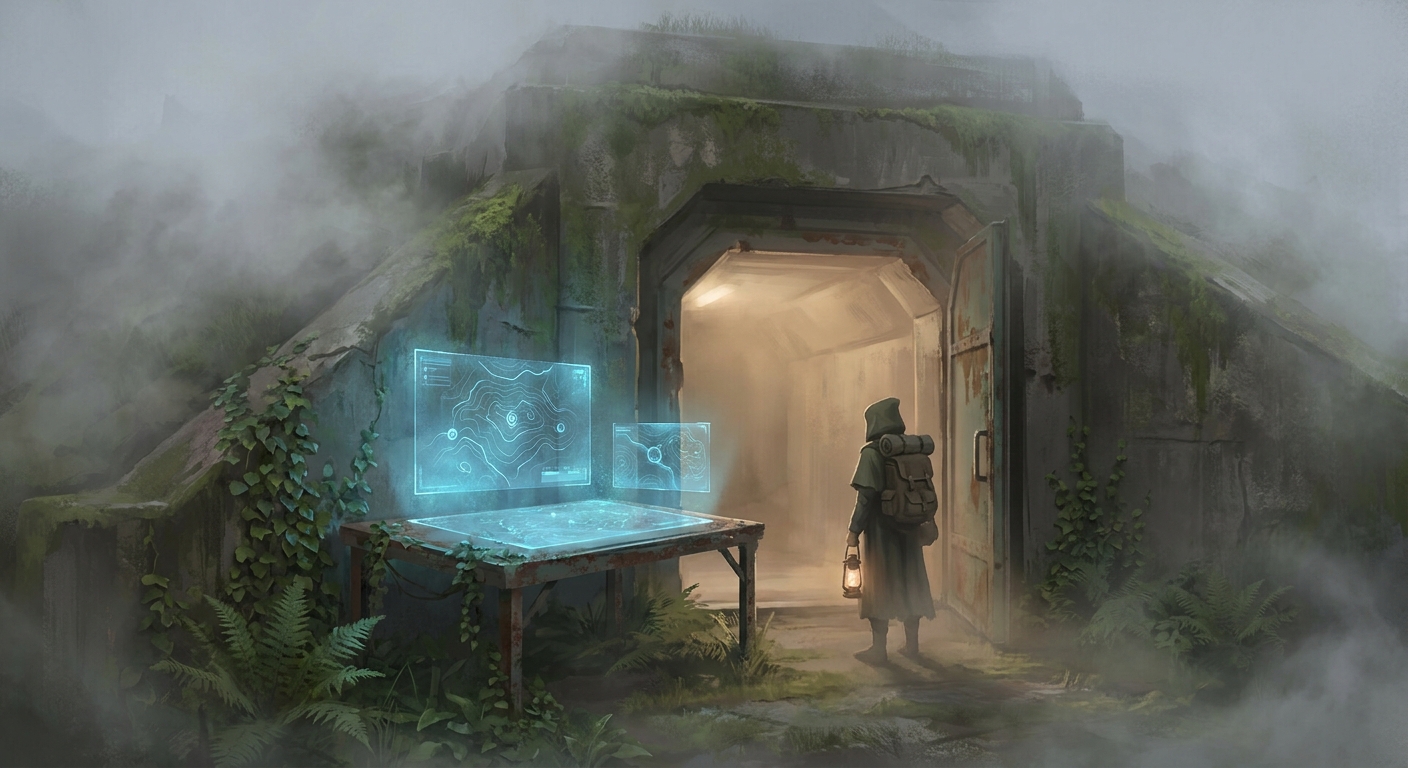
Origins of the Outpost
Let us talk about how this massive concrete bunker came to be. Originally, during the early closed testing phases, the map designers wanted a central hub that heavily favored extreme team coordination. The facility was essentially designed as a brutal choke point. Lore-wise, it served as a primary planetary broadcasting center before the machines completely overran the local defense forces. The rusted satellite dishes and the collapsed radio towers tell a silent story of a desperate last stand. Developers specifically placed high-tier loot in the deepest basements to force players into highly uncomfortable, claustrophobic encounters where long-range rifles are useless.
Evolution of Player Tactics
When the zone first opened to the public, everyone naturally tried to rush the main front gates with heavy machine guns, frag grenades, and sheer bravado. It was an absolute disaster. The community quickly realized that the AI was built specifically to punish loud, aggressive playstyles. Over months of painful trial and error, the entire player meta shifted. Solo runners started finding extreme flanking routes, scaling the jagged western cliffs to drop in silently through the shattered glass skylights. We started prioritizing utility smoke grenades over explosives, and silent melee takedowns over loud sniper shots. The community had to adapt, sharing optimal pathing routes and blind spots on obscure forums and Discord servers.
Modern State of the Sector
Now, in 2026, the overall strategy is fully refined but the ambient danger remains incredibly high. The developers actually heavily buffed the enemy detection cones in recent seasonal patches, making the stealth requirements even tighter than before. You will rarely see anyone carelessly sprinting through the main courtyard anymore. Instead, you see fleeting shadows moving silently from cover to cover. It is a beautiful, terrifying dance of espionage. The location stands as a true rite of passage for any serious survivalist. If you can solo the facility and extract successfully, you have officially mastered the core movement mechanics.
Radar Signal Mechanics
Let us get a little nerdy about how the game engine actually tracks you in the dark. The acoustic engine running this game is incredibly sophisticated. Every single action you take generates an invisible ‘sound sphere’ that expands and degrades over distance. When you drop an empty magazine or step on shattered glass, the physics engine calculates the exact decibel output. The ARC machines do not just rely on visual cones; they have advanced audio receptors that actively triangulate your position based on overlapping sound spheres. If you are carrying a massive, heavy backpack filled with scrap, your base noise floor is naturally much higher. This means crouching is not just a visual aid to hide behind boxes, it is a mathematical necessity to reduce your acoustic footprint.
AI Pathfinding Anomalies
The enemies guarding this bunker use a very dynamic nav-mesh system. They do not just walk blindly on pre-set rails. If a scout drone hears a strange sound, it dynamically plots the shortest logical route to the source, but it also silently alerts neighboring heavy units to form a tight search perimeter. However, the system has quirks that smart players can deeply exploit. For instance, the machines heavily struggle with extreme verticality.
- Visual detection cones span exactly 45 degrees from the enemy’s center focal point, leaving their peripherals highly vulnerable.
- Acoustic decay happens at a rate of 2.5 meters per second in open air, but slows down significantly in enclosed server rooms where sound waves bounce off metallic walls, effectively doubling your noise radius.
- Tactical EMP blasts completely disable sensory inputs for exactly 12.5 seconds, giving you a very strict, easily memorized movement window.
- Hiding in deep shadows naturally reduces your visibility multiplier by a massive 40%, unless a sweeping yellow searchlight directly hits your character model.
- Equipping high-end suppressors reduces the acoustic radius of a gunshot from a booming 150 meters to just a whispering 25 meters.
Understanding the math behind the curtain gives you a massive tactical advantage. You are no longer just nervously guessing if an enemy can see you; you mathematically know if you are safe. This effectively turns a terrifying horror survival experience into a highly calculated, solvable puzzle.
Step 1: Calibrate Your Loadout
Before you even drop from orbit onto the map, your inventory needs strict curation. Pack exactly three EMP grenades, a highly modified silenced secondary weapon, and leave your bulky heavy armor sitting in the stash. Extreme mobility and total silence are your absolute best friends here. Every pound of unnecessary weight you shed instantly increases your overall sprint speed and lowers your base footstep volume.
Step 2: Approach the Western Cliff
Do not ever walk through the main front gates. Ever. Instead, navigate cautiously to the jagged rocky overhang on the far western perimeter. You can strategically use the thick natural foliage to completely mask your thermal signature from the massive aerial drones scanning the valley floor below.
Step 3: The Skylight Drop
Once you finally reach the main roof, locate the shattered reinforced glass directly above the main server room. You must time your drop perfectly. Wait patiently for the heavy dual-legged patrol to walk completely past the center console, then drop down quietly and immediately crouch behind the humming main liquid cooling units.
Step 4: Hack the Security Grid
Move slowly to the glowing blue terminal on the east wall. You have a very short, highly stressful window to initiate the firewall bypass minigame. If you miss a single button prompt, a silent alarm triggers immediately. Stay completely calm, watch the scrolling patterns, and slice cleanly through the firewall to disable all interior optical cameras.
Step 5: Bypass the Heavy Mechs
With the ceiling cameras completely offline, you only have to worry about the walking mechanical tanks. Do not engage them under any circumstances. Throw a cheap decoy flare deep into the opposite hallway to break their strict patrol loop. While they slowly turn to investigate the burning flare, slip invisibly through the newly opened heavy security doors.
Step 6: Secure the Mainframe Loot
You are finally in the vault. Rapidly grab the encrypted hard drives, the glowing high-tier tech scrap, and whatever rare weapon blueprints spawn on the center table. Do not get greedy. Your inventory space is strictly limited, so exclusively prioritize items with the highest trade value at the planetary vendor.
Step 7: The Extraction Sprint
Once you forcefully grab the central core drive, the vault’s silent alarm automatically triggers no matter what. This is exactly where your stealth ends and your speed begins. Stand up and sprint wildly towards the red emergency maintenance tunnel. Pop a chemical stamina stim and do not look back. The extraction drop-ship will loudly pick you up just outside the tunnel exit.
Myths & Reality
Let us clear up some absolute nonsense currently floating around the community forums.
Myth: You absolutely need a full squad of four heavily armed friends to survive this specific zone.
Reality: Running totally solo is actually significantly easier if you know the exact route. Fewer players mean a much smaller acoustic footprint and zero chance of a clumsy teammate accidentally triggering an alarm door.
Myth: EMP grenades permanently destroy the overhead security cameras.
Reality: EMPs only scramble the optical sensors temporarily. You have about twelve seconds of static before they suddenly reboot and instantly flag your position to the swarm. Always keep moving.
Myth: Heavy plated armor will save you if you get caught in the server room.
Reality: If the drone swarm officially spots you, heavy armor just guarantees that you die tired. The sheer volume of incoming laser fire will easily melt any steel armor plating in seconds. Raw speed is your only true defense mechanism here.
What weapons are best here?
Silenced SMGs and highly customized lightweight pistols are absolutely mandatory for popping out overhead lights and executing silent takedowns without waking the sector.
Can I snipe the aerial drones?
Yes, you can drop them, but doing so instantly alerts the entire network of ground units to your exact directional heading and distance.
How often does the loot respawn?
The central vault loot completely resets upon every fresh server deployment into the planetary sector.
Is the western cliff the only entrance?
No, there is a hidden sewer grate to the south, but it is heavily trapped with highly lethal proximity mines.
What happens if I die inside?
You permanently lose everything currently in your backpack, and your dropped gear remains in the vault for other roaming players to easily scavenge.
Do smoke grenades block thermal optics?
Only if you specifically use the upgraded phosphorus variants crafted at the workbench. Standard gray smoke does absolutely nothing against thermal scanning.
How do I extract safely?
Always sprint for the underground maintenance tunnel; running for the main helipad is a complete sniper death trap.
Are there hidden stashes?
Yes, always check behind the collapsed cooling towers on the upper roof for a guaranteed medical supply box.
Can I hack the heavy mechs?
No, the large mechs are permanently hardwired to the mainframe and absolutely cannot be subverted by player tools.
What is the most valuable item?
The legendary quantum processor blueprint, hands down. It sells for a fortune.
To wrap things up, dominating this underground bunker requires intense discipline, flawless map knowledge, and incredibly cold nerves. It is not at all about how fast you can pull a trigger, but rather how smartly you can maneuver through the shadows. Gear up, trust the process, and step confidently into the dark. Join the fight and upgrade your gear today!


Leave a Reply