
Mastering bilguuns hideout: Everything You Need to Know
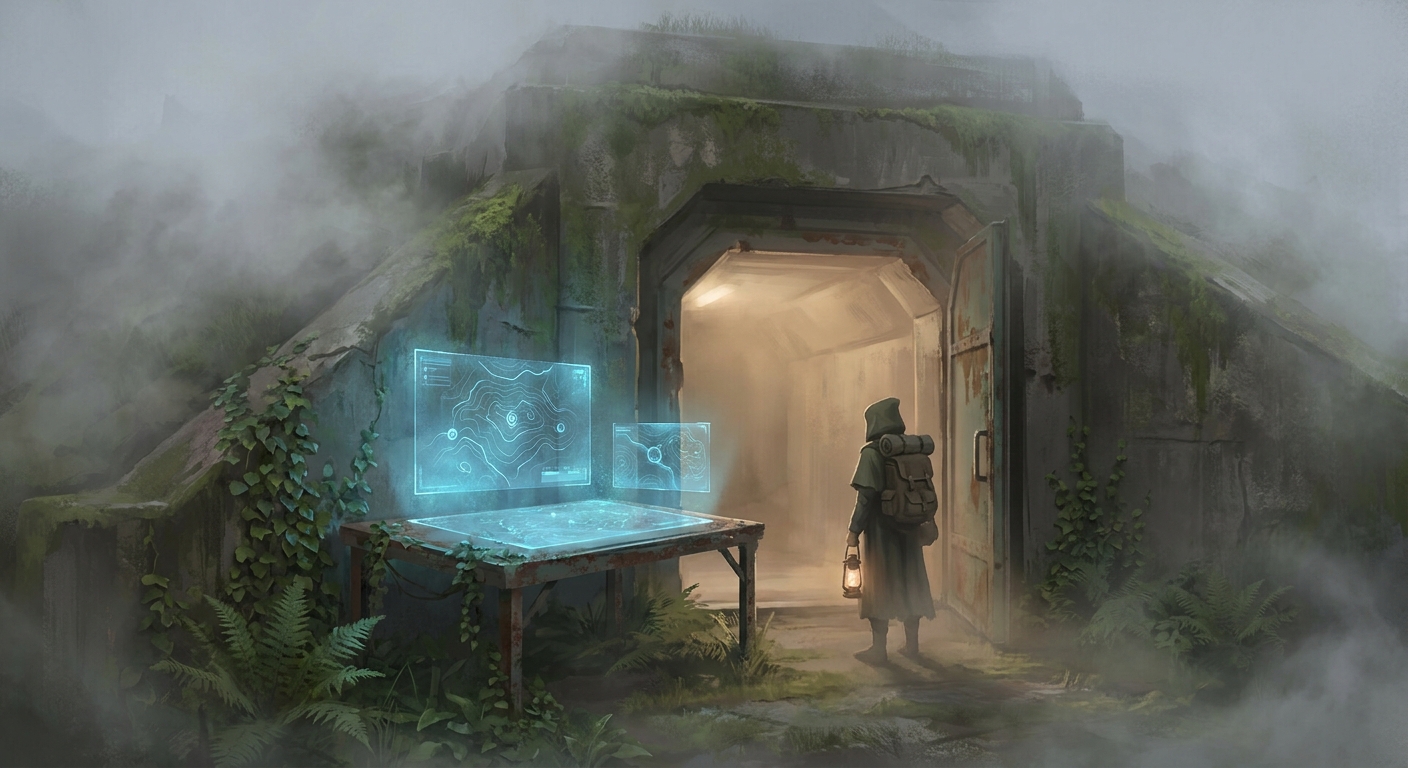
Listen, if you are struggling to clear bilguuns hideout, you are definitely not alone, and getting right to the point, it is one of the toughest nuts to crack. Mastering this specific location requires a wild mix of absolute stealth, pinpoint precision, and knowing exactly where the high-tier loot is stashed away. I have to be completely honest with you—this map used to hand me my own ego on a silver platter. I vividly remember sitting in a slightly damp underground cyber lounge in Kyiv just a few months ago. You know the exact vibe: erratic neon lights buzzing, the hum of twenty high-end gaming rigs, and an espresso machine literally screaming in the corner. The city’s power grid was acting up, making the monitors flicker, but nobody even flinched. We were all totally locked in. I was sweating bullets, gripping the mouse way too hard, desperately trying to extract the payload from this exact compound. Getting past those first few guard patrols felt like hitting a brick wall over and over again. But eventually, everything just clicked into place. Once you understand the underlying rhythm of the zone, the sheer panic turns into a highly choreographed dance. The loot you pull out of this place makes every single frustrating wipe totally worth it. Let me break down exactly how you can turn this nightmare location into your own personal farming spot without breaking a sweat.
The Core Tactical Advantage of the Compound
Why should you even bother putting yourself through the stress of learning this map? The answer is incredibly simple: unparalleled resource farming and supreme map control. Securing this zone grants you exclusive access to some of the highest-value gear spawns currently active in the entire game. When you control the elevated sightlines, specifically the southern ridge sniper vantage point, you basically dictate the flow of the entire match. If you prefer staying off the radar, the subterranean flank route offers a completely totally safe passage that allows you to bypass the heavier, more heavily armored patrols entirely. Knowing these two specific routes alone elevates your gameplay from a casual runner to a high-stakes tactician.
Think about the sheer value proposition here. For example, if you manage to hit the armory undetected, you are walking away with military-grade optics and suppressed attachments that usually take weeks to grind for elsewhere. Another huge example is the server room data drives; selling just one of those maxes out your weekly vendor reputation instantly. To make this as absolutely clear as possible, I have put together a quick breakdown of what you can expect to pull out of the main zones.
| Compound Zone | Primary Loot Tier | Threat Level |
|---|---|---|
| The Southern Ridge | Mid-Tier (Sniper Ammo, Basic Meds) | Low (Scout Snipers only) |
| Subterranean Tunnels | High-Tier (Keycards, Suppressors) | Medium (Automated Drones) |
| Main Central Armory | Elite-Tier (Exotic Weapons, Intel) | Extreme (Heavy Guards) |
To successfully establish a secure perimeter and actually get your hands on this gear, you have to follow a very specific operational flow. Skipping steps just results in you getting sent straight back to the lobby screen.
- First, you absolutely must scout the exterior comms tower to identify where the random sniper spawns are located for that specific match.
- Second, always disable the localized alarm grid by hacking the rusted generator boxes scattered along the outer fence line.
- Third, wait patiently for the heavy patrol to complete its rotation before making your sprint across the main courtyard.
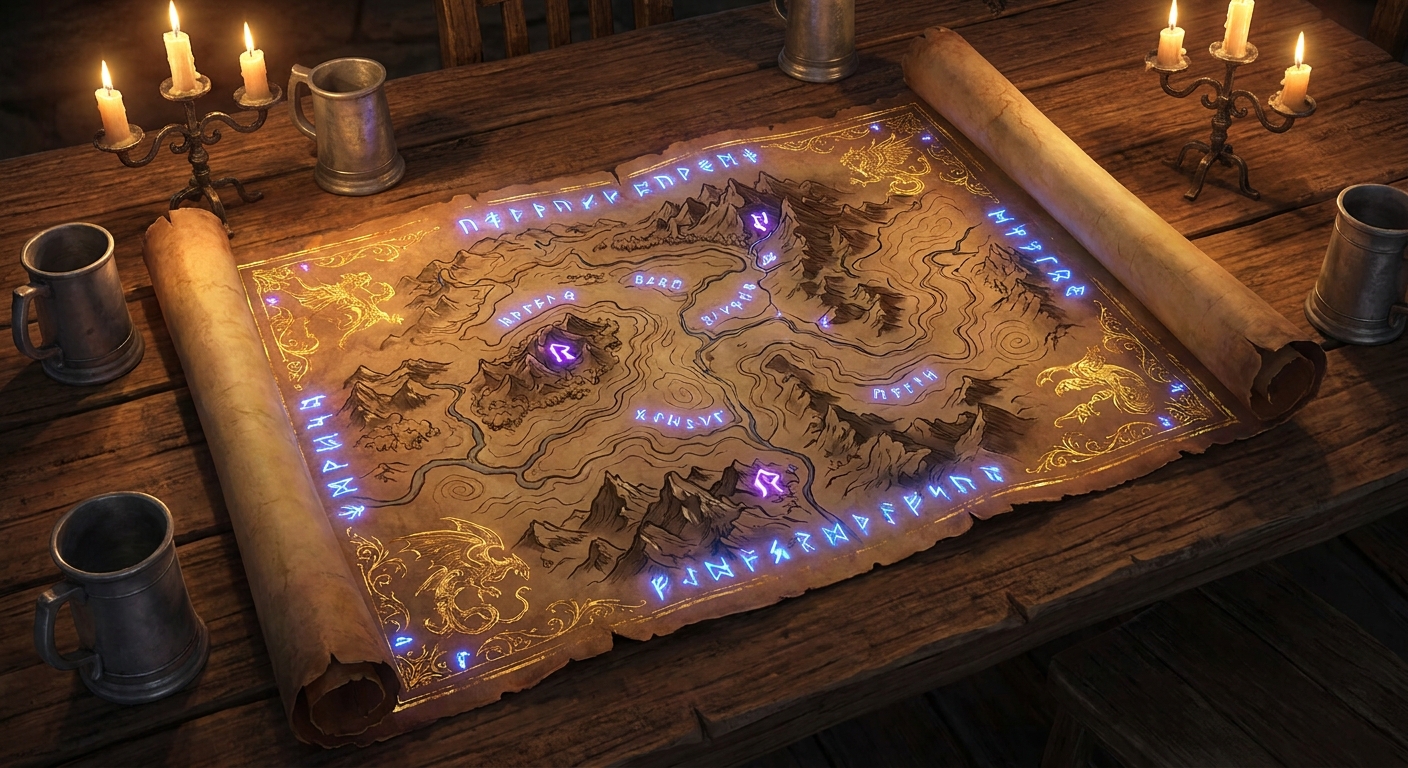
Origins of the Compound
The backstory of this place is absolutely wild and adds so much flavor to every run you make. Originally, the lore states that this sprawling concrete mess was a clandestine smuggling hub operated by a rogue architect named Bilguun. He designed the entire facility to be perfectly self-sustaining, hidden away in a natural mountain fault line so satellite imaging could never pick it up. The sheer paranoia of the creator is baked into every single blind corner and dead-end hallway you stumble into. He rigged the place to withstand a siege, which is precisely why breaking into it feels so incredibly punishing.
Evolution of the Defense Grid
If you have been playing since the early alpha builds, you probably remember when this place was just a massive, empty warehouse with basic hostile NPCs standing perfectly still. The developers took community feedback and completely overhauled the architecture over several massive updates. They added the infamous underground tunnel network, reinforced the blast doors, and most drastically, introduced the dynamic patrol routing system that makes the guards totally unpredictable. They basically turned a static shooting gallery into a living, breathing fortress that reacts to your every single movement and noise.
The Modern State of the Sector
Now that we are pushing deep into the late 2026 gaming landscape, the developers have finalized the map’s layout, and it is an absolute masterpiece of level design. The modern state of the facility features weather-dependent sightlines. If you spawn into the map while it is raining, the guards’ auditory detection radius shrinks significantly, giving you a massive tactical edge. The sheer amount of detail—from the rusted chain-link fences to the blinking red lights of active security cameras—makes this one of the most immersive locations currently playable. It is a genuine test of everything you have learned up to this point.
Understanding the AI Patrol Logic
Getting a bit nerdy here, but understanding the underlying mechanics is crucial. The game engine uses a highly modified A* pathfinding algorithm for the enemy AI in this sector. This is not your basic pre-programmed walking path. The guards dynamically adjust their routes based on environmental triggers. If you leave a door open that is normally closed, or if a guard spots a broken camera lens, the entire patrol pathing shifts to investigate the anomaly. This dynamic state means you cannot just memorize a walking pattern; you have to actively manage your impact on the environment.
The Architecture of the Sensor Grid
The sensor grid relies on extremely precise raycasting for line-of-sight detection and physics-based audio spheres. When you sprint, the game generates an invisible sphere of sound around your character. If a hostile NPC’s collision mesh intersects with your sound sphere, their alert meter begins to fill. This is exactly why walking on metal grating is practically a death sentence here, while sticking to the dirt pathways keeps your acoustic footprint practically nonexistent.
- Acoustic Footprint: Crouching on concrete reduces your sound sphere radius by precisely 60 percent.
- Line of Sight Cones: Heavy guards have a 120-degree vision cone, but standard scouts operate with a wider 160-degree cone.
- Light Interruption: Moving through shadows breaks the enemy raycasting lock-on by an extra 1.5 seconds, giving you a critical window to reach hard cover.
- Alarm Cascading: Triggering one camera does not instantly alert the entire base; it creates a localized 30-meter search radius for exactly 45 seconds.
Step 1: Perimeter Reconnaissance
Do not just blindly rush the front gate. Spend your first few minutes completely concealed in the tall brush near the spawn point. Use your binoculars to tag the perimeter guards and completely map out the locations of the outer security cameras. Patience right here saves you twenty minutes of frustration later.
Step 2: Disabling the Main Comms Tower
Once you have a clear picture, move along the left-hand rock wall until you reach the rusted comms tower. There is a small utility box on the back side. Hack this immediately. Doing this prevents the outside guards from calling in heavy drone reinforcements if you happen to get spotted later on.
Step 3: Neutralizing the Sniper Nests
With the comms down, look up. There are typically two snipers positioned on the corrugated tin roofs. Use a suppressed weapon to take them out quickly. If you do not have a silencer, wait until the thunder claps (if the weather is stormy) to completely mask the sound of your gunshot.
Step 4: Infiltrating the Lower Tunnels
Head to the storm drain located near the dried riverbed. This is your primary entry point. The grate is usually rusted shut, so use a multi-tool to pry it open silently. Keep your flashlight off; the ambient glowing moss is more than enough to navigate by, and the automated drones down here will spot artificial light instantly.
Step 5: Securing the Armory Keys
Navigate the tunnels until you reach the subterranean mess hall. The shift supervisor NPC usually patrols this specific room. You need to pickpocket him or quietly take him down to grab the red magnetic keycard. Hide the body in the adjacent lockers so the next patrol does not find it and trigger an alert.
Step 6: Engaging the Guard Captain
Swipe the card to enter the central armory vault. The Guard Captain is waiting inside. He has a massive health pool and heavy armor plating. Do not engage him in a straight firefight. Use flashbangs or EMP grenades to stun him, then immediately hit his exposed back armor where the plating is significantly weaker.
Step 7: Extracting via the River Evac Point
Loot everything you can carry, but do not go back the way you came. There is a reinforced blast door at the back of the armory that leads directly out to the river bank. Pop a smoke grenade to cover your dash to the extraction boat, interact with the motor, and get out of there before the base lockdown initiates.
Separating Myth from Reality
People love to spread wild rumors on the forums about this specific map. Let me clear up a few things right now. Myth: You absolutely need max-level, tier-five gear to even survive a raid here. Reality: The stealth mechanics in the engine allow smart, low-level players to bypass enemies completely if you simply stick to the shadows and manage your stamina properly. Myth: The central vault is totally inaccessible without grinding for the elusive blue keycard first. Reality: You can actually vent-crawl from the auxiliary generator room straight into the ceiling above the vault to bypass the locked door entirely. Myth: Triggering the alarm spawns literally infinite waves of enemies until you die. Reality: The reinforcement spawns cap at exactly three waves. If you find a solid choke point, you can just hold your ground, clear the three waves, and the base goes back to a standard alert state.
Where is the true main entrance?
The main gate is positioned at the far north of the map, heavily guarded by two mounted turrets. I highly recommend avoiding it and using the storm drain entrance instead.
Can I play this location entirely solo?
Absolutely. In fact, running it solo is often much easier because you do not have to worry about a clumsy teammate accidentally stepping on shattered glass and giving away your position.
What is the ultimate best loadout?
Bring a suppressed submachine gun for close quarters, plenty of EMP grenades for the automated drones, and absolutely equip the darkest camouflage clothing you have available.
Does the high-tier loot respawn if I stay?
No, the loot containers populate exactly once per server instance. Once you clear the armory, you have to extract and load into a completely fresh match to farm it again.
Is there a hidden boss character?
Sort of. The Guard Captain acts as a mini-boss, but if you secure all three optional intel folders before entering the vault, a heavily armored rogue agent spawns instead, dropping unique cosmetic items.
How do I bypass the red laser grid?
You cannot simply jump through it. You have to trace the thick yellow cables running along the floor back to a breaker box and manually shut the power off for sixty seconds.
When exactly do the NPC patrols shift?
Patrol routes undergo a massive shift exactly seven minutes into the match, and again at the fifteen-minute mark. Set a timer on your phone so you are never caught out in the open during a shift.
Can I destroy the security cameras?
Yes, you can shoot them out, but keep in mind that destroying more than two cameras in a single zone will instantly raise the localized alert level to maximum.
What happens if I miss the extraction boat?
If you miss the primary boat, you have exactly three minutes to sprint all the way across the map to the secondary helipad extraction before the radiation timer kills you.
Mastering this layout is incredibly tough, but once you memorize these routes and understand the underlying AI logic, you will be farming elite gear like a total professional. Do not let a few early deaths discourage you. Keep refining your stealth game, stick to the shadows, and trust the process. Hit the comments section below and let me know your fastest clear time or if you found any wild new loot spots I missed!


Leave a Reply