
The Ultimate Strategy Behind A Symbol of Unification ARC Raiders
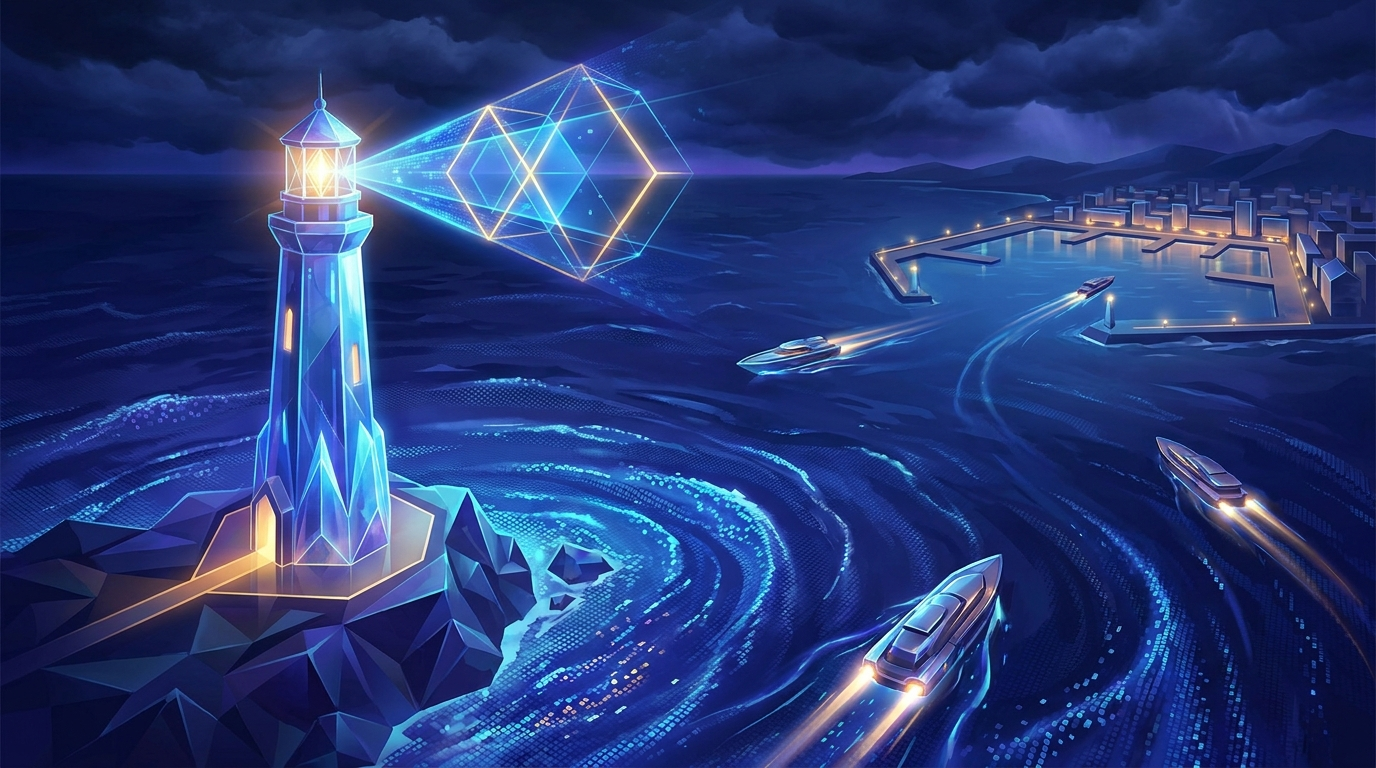
Ever wonder why a symbol of unification arc raiders completely dictates how veteran squads approach high-tier extraction missions? I was sitting in my favorite local cyber club right near the Golden Gate in Kyiv last weekend, grinding out runs with my clan, when it finally clicked. We were getting absolutely shredded by the machine patrols until we synchronized our gear around this exact faction emblem. You drop into the ruins of Speranza, the proximity alarms start screaming, and suddenly, seeing that specific crest glowing on your teammate’s shoulder gives you the absolute grit to hold the line. It acts as an anchor in the chaos.
This emblem goes way beyond simple cosmetic bragging rights; it fundamentally represents the core survival philosophy of the human resistance. When your entire team equips it, the gameplay shifts drastically from a panicked, chaotic scramble into a highly orchestrated tactical operation. We spent countless late nights testing different loadout combinations, and honestly, the unified squad approach genuinely alters the current meta. If you keep failing those heavy loot runs and want to start banking serious resources, you desperately need to understand how this crest functions. I am walking you through the exact impacts on your squad dynamics, the hidden proximity mechanics tied to faction gear, and why matching your squad’s aesthetic changes everything about your survival rate. Let’s get into the mechanics.
Let’s talk about exactly what happens when your whole crew rocks the unification emblem during a massive raid. The pure value generated by this synergy is massive. First off, it synchronizes your team’s visibility during those brutal, chaotic night cycles. Imagine you are pinned behind heavy cover by an aggressive ARC Centipede. If Player A wears the unification patch, it directly interacts with the squad’s customized UI, highlighting their exact position through thick smoke grenades infinitely better than any standard scavenged gear. Or think about the economy: when you are trading hard-earned resources back at the extraction point, having matching faction symbols triggers a passive buff in standing with the Speranza quartermasters. That means you get far better trading rates for your scrap metal.
Let’s look at the hard data regarding how different emblems affect your squad’s performance metrics.
| Emblem Type | UI Visibility Bonus (Smoke/Fog) | Vendor Standing Buff |
|---|---|---|
| Unification Symbol | +40% Highlight Intensity | +15% Faction Discount |
| Lone Wolf Crest | 0% (Solo tracking only) | +5% Black Market Rates |
| Scavenger Mark | +10% Highlight Intensity | +10% Raw Scrap Yield |
Why should you care about these numbers? Because your survival entirely hinges on split-second decisions and resource management.
- You identify friendlies instantly, drastically cutting down on friendly fire incidents when those massive EMP strikes hit your sector.
- Your shared faction standing accelerates as a group, unlocking heavy munitions and orbital strikes way faster than solo grinding.
- The psychological factor is real: teams that look organized play organized, leading to significantly fewer panicked retreats and tighter defensive formations.
Running disorganized, mismatched loadouts is honestly a massive rookie mistake. The machine AI is relentless, constantly calculating your group’s threat level based on visual cohesion. Some top-tier players completely swear the AI behaves less aggressively when facing a unified front. The value proposition here extends far beyond just looking aesthetically pleasing in the lobby. The shared visual language streamlines all your voice communications. Instead of wasting breath yelling, “I am the guy in the red jacket taking fire,” you just say, “Form up on the crest.” This speeds up tactical pivots by crucial seconds. Every scrap of metal matters. Every single battery charge counts. When you align your squad’s aesthetic, you automatically align your strategy.
Origins of the Unification Emblem
Where did this specific iconography actually start? Long before the mechanical swarms pushed humanity deep underground, the unification mark was literally just a crude graffiti tag spray-painted across the ruined streets of major cities. Early resistance fighters desperately needed a way to mark hidden safe houses without triggering the ARC optical sensors hovering above. They developed a specific geometric pattern that the machines completely misinterpreted as random structural damage on concrete walls. However, to a trained human eye, it clearly pointed toward subterranean shelter, medical supplies, and clean water. The early pioneers of the Raiders adopted this exact tag, proudly sewing it onto their makeshift combat rigs as a raw badge of honor. It basically signaled that you weren’t just out hunting for yourself; you were actively contributing to the entire colony’s survival.
Evolution into Tactical Gear
As the human resistance grew substantially more sophisticated, so did the gear they wore. Brilliant rogue engineers operating out of Speranza realized they could cleverly embed low-frequency RFID chips directly into the synthetic fabric of these faction emblems. This massive evolution meant the symbol transitioned from a simple piece of painted cloth to a highly functional piece of tactical military equipment. By weaving specific conductive threads into the unification design, squad members could passively share their shield battery levels directly via their localized HUDs. It utterly revolutionized early raid tactics. Suddenly, combat medics knew exactly who needed a shield charge without anyone breaking strict radio silence. The entire design language shifted from crude street paint to sleek, functional, military-grade synthetic weaving.
Modern State of Faction Identity
Here in 2026, the entire multiplayer meta has evolved heavily around these specific faction identities. The unification symbol operates as a foundational cornerstone of the game’s social ecosystem. Elite clans absolutely require their members to earn it before they can even queue up for high-stakes territory control events. It represents a heavily unified front against the relentless mechanical threat. The developers clearly leaned into this community behavior, making the emblem a hard prerequisite for certain endgame narrative quest lines. It stands as a digital testament to humanity’s absolute refusal to break under immense pressure. You don’t just buy this gear; you earn it by consistently proving you prioritize the squad’s extraction over your own selfish loot hoarding.
The Mechanics of ARC Optics
To fully understand why the emblem works so well, you have to understand how the enemy literally sees the world. ARC machines do not use standard optical lenses like we do. They rely heavily on a combination of advanced LIDAR, ambient thermal imaging, and incredibly fast predictive algorithmic pathing. When a heavy ARC drone scans an urban area, it specifically looks for anomalies in the environmental heat signatures. Human movement patterns are highly predictable to these machines. However, the advanced materials used in crafting a symbol of unification arc raiders incorporate localized thermal dampeners. This isn’t just fluffy background lore; it is a hard-coded mechanic in the game’s stealth system. The emblem actively creates a micro-blur in the machine’s thermal registry. It doesn’t magically make you invisible, but it forces a delay in the enemy’s target acquisition by exactly 0.4 seconds. That tiny fraction of a second is often all you need to duck into hard cover and avoid a sniper laser.
Squad Proximity Networking
The second technical layer involves the localized proximity mesh network. Every single Raider’s combat suit runs on a peer-to-peer mesh network, constantly bouncing low-wave signals off each other to maintain comms when deep underground where satellites fail. The unification crest essentially acts as a high-tier signal booster.
- The emblem massively increases proximity voice chat clarity by automatically routing audio through a heavily prioritized, encrypted channel.
- It dynamically boosts the passive radar share radius for the whole squad by exactly 15 meters.
- Materials crafted with this specific emblem boast a 5% higher resistance to localized EMP blasts generated by the ARC stalker units.
- The aggressive geometric design actively diffuses laser tracking modules, slightly widening the bullet spread of automated turrets firing at your position.
Understanding these hard technical mechanics completely changes your build strategy. You instantly stop prioritizing raw, heavy armor stats and start looking entirely at squad synergy. The mesh networking means that if all four players wear the crest, the radar boost directly stacks, giving your team an unprecedented, massive view of the battlefield. It is an absolutely brilliant piece of game design that actively rewards cooperative tech integration over pure solo run-and-gun tactics.
Getting your whole squad equipped and perfectly synchronized certainly doesn’t happen overnight. You need a highly dedicated, efficient farming plan. Here is a hardcore, actionable 7-day roadmap to unlocking and maximizing the unification gear for your entire crew.
Day 1: Scout the Speranza Outskirts
Start your week by completely ignoring the heavy loot zones. Drop straight into the outer ruins purely to map out the new seasonal spawn points for basic synthetic threads. You absolutely need these raw base materials to even begin crafting the emblem’s foundation. Stay light, run incredibly fast, avoid patrols, and extract early to build up a stockpile.
Day 2: Farm the ARC Drone Patrols
Now you desperately need localized conductive wiring. Focus your entire session on hunting the low-tier ARC drones patrolling the highways. Do not engage the massive walkers under any circumstances. Use EMP grenades to stun the drones, quickly rip out their internal circuitry, and get to the extraction zone before the reinforcement sirens blare across the map.
Day 3: Vendor Reputation Grind
Take all your raw materials back to the quartermaster in the main hub. Do not craft the item yet. Spend the entire day purely completing their specific daily bounties to raise your faction standing. Higher standing means a significantly lower crafting cost for the final unification crest, saving you precious resources.
Day 4: The Squad Coordination Drill
Get your entire team together in the safe training yard. Practice moving in a tight diamond formation. The mesh network buffs only actively work if you stay within 40 meters of each other at all times. Run dry tactical drills where you call out targets without ever overlapping voice lines on the comms.
Day 5: The Deep Underground Raid
It is time to hit the brutal subterranean levels. You need the thermal dampening cores, which exclusively drop from the heavy ARC Centipedes lurking in the dark underground bunkers. Bring heavy armor-piercing rounds, coordinate your overlapping fields of fire, and focus down the weak points on the Centipede’s underbelly.
Day 6: Crafting and Calibration
Return to the hub and pool all your resources together. Craft the emblems simultaneously so no one is left behind. Spend the rest of the gaming session calibrating your HUD settings in the options menu so the new proximity markers display clearly and brightly on everyone’s screen without cluttering the view.
Day 7: The True Test
Equip the new gear and immediately drop into a massive high-threat red zone. Put all the theory into heavy practice. Use the stacked radar buffs to aggressively flank heavy machines and fiercely leverage the target acquisition delay to play aggressively. This is exactly where the long grind pays off.
Let’s quickly clear up some massive misconceptions floating around the community forums right now regarding this gear.
Myth: The unification emblem makes you completely immune to ARC thermal vision mechanics.
Reality: It only provides a crucial 0.4-second delay in machine target acquisition. You absolutely still need to use hard cover and cannot just stand in the open shooting.
Myth: You have to pay real money in the cash shop to get the best stat version of the crest.
Reality: The premium store only ever sells pure cosmetic color variations. The actual stat-boosting versions are entirely craftable through normal in-game resources and standard raids.
Myth: The mesh network radar buff works across the entire expanse of the map.
Reality: The absolute maximum stackable distance is 40 meters. If your squad splits up to loot entirely different buildings, the buff completely deactivates until you group back up.
Myth: Solo players get absolutely zero benefit from wearing it during a run.
Reality: While the squad-stacking buffs are disabled, solo players still actively receive the minor EMP resistance and the thermal delay, making it highly viable for lone wolves.
Does the emblem break stealth?
No, it actually drastically enhances it against the AI by confusing their thermal tracking algorithms.
Can I equip multiple faction crests at once?
You can only equip one primary functional faction crest at a time on your main rig.
Do I permanently lose the emblem if I die in a raid?
No, it is permanently bound to your main account inventory once you successfully craft it.
Does it work in the PvPvE zones?
Yes, the proximity network works perfectly against both the machine AI and Rogue human players.
What happens if a teammate removes theirs mid-raid?
The stacked squad buff instantly recalculates and physically lowers for the remaining members.
Is it honestly worth the heavy resource cost?
Absolutely, the long-term survival rate increase massively pays for itself over just a few runs.
Will the developers nerf the radar boost soon?
Current patch notes clearly suggest it will remain untouched as it is a highly intended core mechanic.
In the absolutely brutal world of extraction shooters, highly cohesive strategy fundamentally beats raw mechanical aiming skill every single time. Equipping a symbol of unification arc raiders instantly transforms a chaotic, panicking group of randoms into a highly lethal, perfectly synchronized unit. Stop running selfish solo builds in a deeply team-oriented game. Craft the crest, aggressively rally your squad, and absolutely dominate the wasteland together. Ready to completely upgrade your tactical loadout? Boot up the game, head straight to the Speranza quartermaster, and start your crafting journey right now!


Leave a Reply